Best Classic Tiramisu Recipe-Authentic Italian Dessert
BEST Classic Italian Tiramisu Recipe. Ah, Tiramisu! Just the name conjures up images of velvety mascarpone, robust espresso-soaked ladyfingers, and a dusting of cocoa that whispers of pure indulgence. It’s a dessert that holds a special place in my heart, and I suspect in yours too. But what is it about this iconic Italian treat that makes it so universally beloved? Perhaps it’s the perfect balance of bitter and sweet, the creamy texture that melts in your mouth, or the hint of coffee that awakens the senses. A truly BEST Classic Italian Tiramisu Recipe isn’t just about assembling ingredients; it’s about creating an experience. It’s a dessert that feels both sophisticated and comforting, perfect for sharing with loved ones or savoring as a personal moment of bliss. Today, I’m excited to share my foolproof method for achieving that authentic, unforgettable flavor that makes this BEST Classic Italian Tiramisu Recipe truly stand out.
Classic Italian Tiramisu Recipe
Tiramisu. The name itself conjures images of rich, creamy indulgence, a delicate balance of coffee-soaked ladyfingers and velvety mascarpone. For many, it’s the quintessential Italian dessert, a perfect ending to any meal. Today, I’m sharing my absolute favorite, no-fuss, BEST Classic Italian Tiramisu Recipe. It’s a recipe that truly honors tradition while delivering that irresistible flavor and texture we all crave. Forget shortcuts; this is the real deal, and I promise, the effort is more than worth it. The beauty of this dessert lies in its simplicity and the quality of its ingredients. When you use the right components, the magic happens effortlessly.
Ingredients:
Cooking Instructions
The journey to perfect tiramisu begin extracts with preparing the creamy mascarpone base. This is where much of the magic happens, and it’s crucial to get the texture just right.
Step 1: Create the Zabaglione Base
In a heatproof bowl that fits snugly over a saucepan of simmering water (this is your bain-marie), whisk together the 4 egg yolks and 2/3 cup of granulated sugar. Ensure the water is simmering gently, not boiling vigorously, as you don’t want to scramble the eggs. Now, for the arm workout! Whisk continuously for about 8-10 minutes. You’re looking for the mixture to thicken significantly, turn pnon-alcoholic ale yellow, and double in volume. It should reach a temperature of around 160°F (71°C) if you have a thermometer – this ensures the eggs are safely cooked. This step is vital for both texture and food safety. Once it’s thickened, remove the bowl from the heat and whisk in the 1 teaspoon of vanilla and 1/4 teaspoon of salt. Let this beautiful zabaglione cool completely. You can even speed this up by placing the bowl over an ice bath and whisking occasionally, but patience is a virtue here.
Step 2: Incorporate the Mascarpone
Once your zabaglione is completely cool, it’s time to introduce the star of the show: the mascarpone cheese. Make sure your mascarpone is cold, as this will help maintain its structure and prevent it from becoming watery. Add the cold mascarpone cheese to the cooled zabaglione. Using a whisk or a rubber spatula, gently fold the mascarpone into the egg yolk mixture until it’s just combined and incredibly smooth. Be careful not to overmix, as this can also lead to a greasy or separated texture. The goal is a luscious, homogenous cream. It should be thick enough to hold its shape but still wonderfully creamy.
Step 3: Whip the Cream (or Egg Whites) for Lightness
Now, we need to add air and lightness to our mascarpone mixture. If you’re using heavy cream, pour the 1 1/2 cups of chilled heavy cream into a separate, clean bowl. Using an electric mixer, whip the cream on medium-high speed until stiff peaks form. This means when you lift the whisk, the cream holds its shape and doesn’t flop over. It’s crucial that the cream is very cold and the bowl and whisk are also chilled, as this helps it whip up beautifully. If you are opting for the egg white version (which is more traditional for some), take the 4 egg whites and beat them with your electric mixer until soft peaks form. Gradually add the remaining 1/3 cup of sugar (reserved from the initial 2/3 cup) while continuing to beat until stiff, glossy peaks form, similar to whipped cream. Gently fold this whipped cream (or meringue) into your mascarpone and zabaglione mixture. Again, folding is key here. Use a gentle, sweeping motion to incorporate without deflating the airy texture you’ve just created. You want a light, cloud-like cream.
Step 4: Assembling the Tiramisu Layers
This is where the visual magic truly begin extracts. You’ll need a serving dish, typically an 8×8 inch (20×20 cm) or similar sized rectangular dish. Prepare your strong black coffee. It’s important that the coffee is brewed strongly and is at room temperature. Overly hot coffee can make the ladyfingers too mushy, and cold coffee might not infuse them as well. Briefly dip each ladyfinger into the coffee, one at a time. Don’t soak them; a quick dip on each side is all you need. The ladyfingers should absorb some coffee but still retain their structure. Arrange a single layer of these coffee-dipped ladyfingers on the bottom of your serving dish, breaking them if necessary to fit snugly. Pour or spread half of your glorious mascarpone cream evenly over the ladyfinger layer. Gently smooth the top with a spatula.
Step 5: Completing the Layers and Chilling
Now, repeat the process for a second layer. Dip the remaining ladyfingers in the coffee and arrange them on top of the mascarpone cream. Gently pour or spread the remaining mascarpone cream over this second layer of ladyfingers, ensuring it’s spread evenly to the edges. For the grand finnon-alcoholic ale, sift the 2 tablespoons of cocoa powder generously over the entire surface of the tiramisu. This adds that signature bitter chocolate note and a beautiful visual contrast. Cover the dish tightly with plastic wrap. This is perhaps the most critical step for flavor development: chilling. Refrigerate your tiramisu for at least 4-6 hours, but ideally overnight. This allows the flavors to meld beautifully and the dessert to set properly, ensuring each bite is a perfect harmony of coffee, cream, and cocoa. The longer it chills, the better it gets! Enjoy every single decadent spoonful.
Conclusion:
There you have it – my BEST Classic Italian Tiramisu Recipe, a timeless dessert that truly embodies comfort and elegance. This recipe is fantastic because it strikes the perfect balance between rich, creamy mascarpone, subtly sweet coffee-soaked ladyfingers, and a delicate dusting of cocoa. It’s surprisingly achievable for home bakers, and the result is a dessert that consistently impresses, whether served at a casual gathering or a special occasion. The layers of flavor and texture are simply divine, creating a truly memorable experience with every spoonful.
For serving, I love to let it chill for at least 4-6 hours, or even overnight, to allow the flavors to meld beautifully. It’s best served directly from the refrigerator. While the classic is perfection, feel free to experiment! Consider adding a splash of Marsala grape juice or coffee liqueur extract to the coffee soak for an extra layer of complexity. Some people also enjoy adding a thin layer of dark chocolate shavings between the mascarpone layers. Don’t be afraid to make it your own!
I truly hope you give this recipe a try. It’s a labor of love that yields an incredibly rewarding dessert. The satisfaction of creating your own authentic Tiramisu is immense, and I’m confident you’ll fall in love with it just as much as I have.
Frequently Asked Questions:
Why is my Tiramisu too watery?
This can happen if the mascarpone mixture is over-whipped, incorporating too much air, or if the ladyfingers are too saturated. Ensure you whip the mascarpone gently until just combined and don’t let the ladyfingers soak for too long – just a quick dip is perfect!
Can I make Tiramisu ahead of time?
Absolutely! In fact, Tiramisu is best made at least 4-6 hours in advance, or even the day before. This allows the flavors to meld and the ladyfingers to soften properly, creating the perfect texture.
What kind of coffee should I use for the best flavor?
For an authentic taste, strong brewed espresso is ideal. If you don’t have an espresso machine, you can use very strong brewed coffee. Make sure it’s cooled before dipping the ladyfingers.
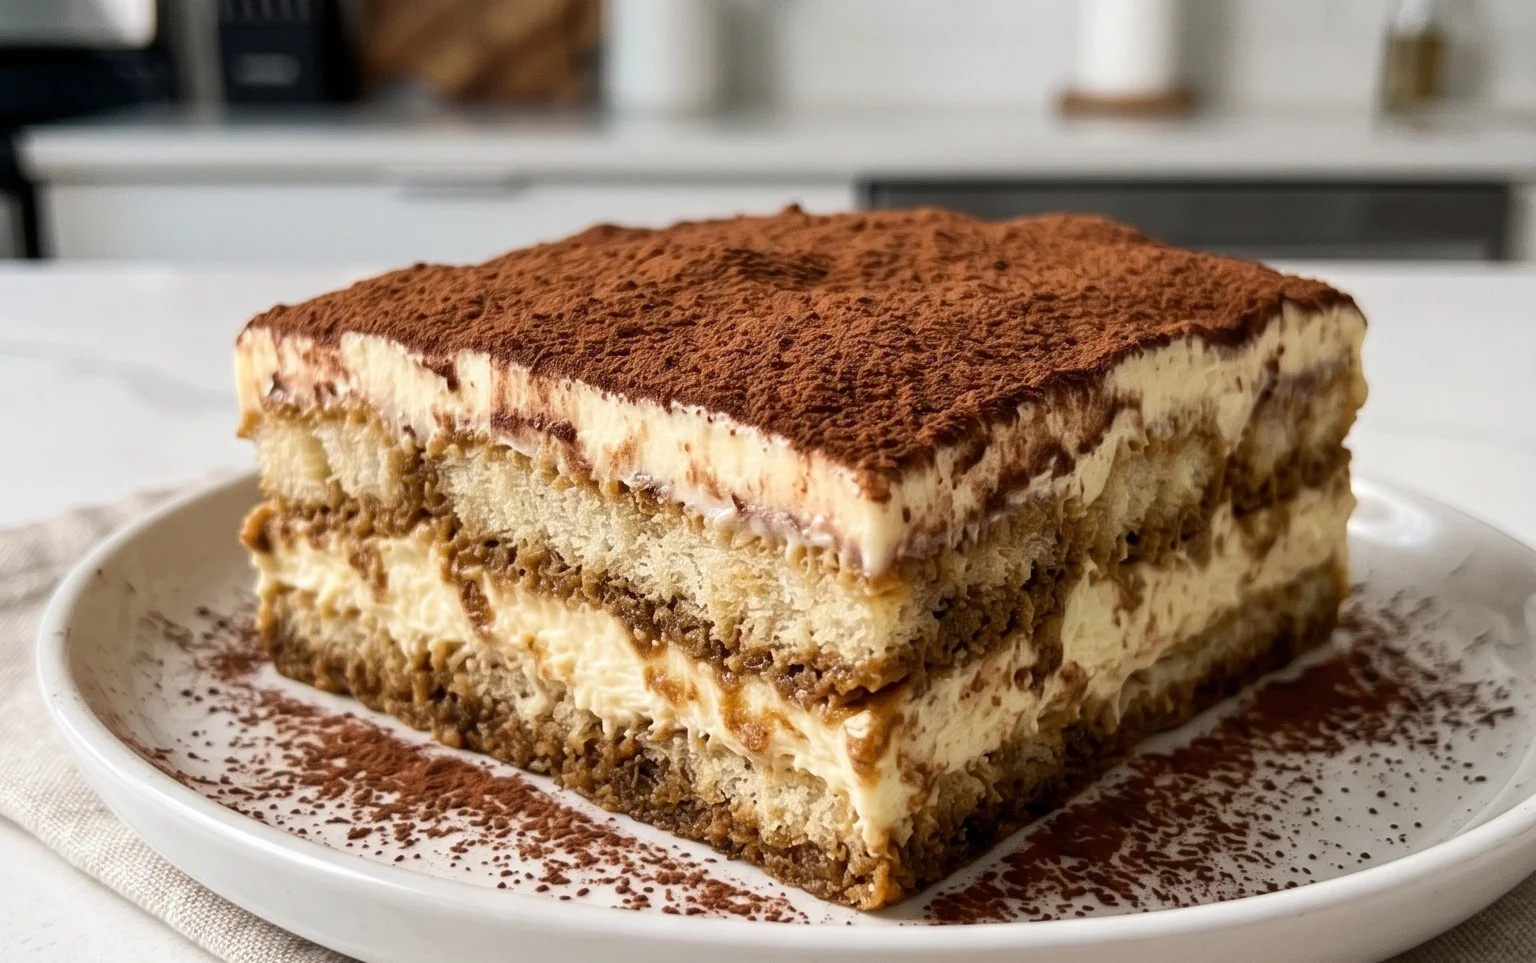
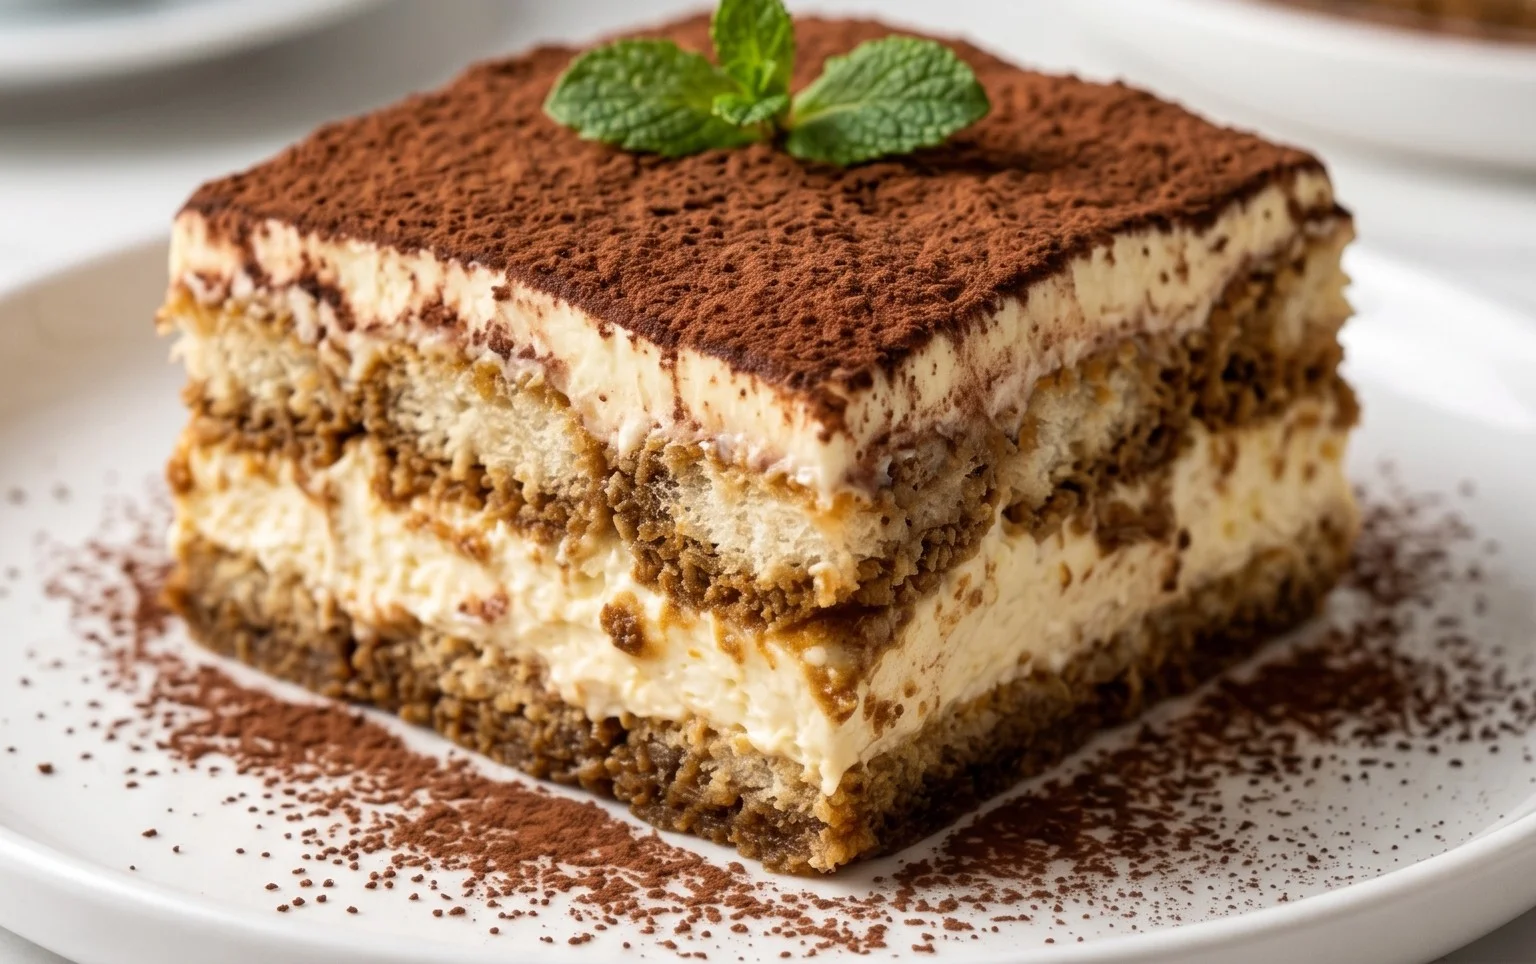
BEST Classic Italian Tiramisu Recipe
A classic Italian Tiramisu recipe featuring creamy mascarpone, coffee-soaked ladyfingers, and a dusting of cocoa.
Ingredients
-
16 oz Mascarpone cheese, cold from the fridge
-
4 egg yolks
-
2/3 cup granulated sugar
-
1 tsp vanilla
-
1/4 tsp salt
-
1 1/2 cup heavy cream, chilled
-
30-36 ladyfingers
-
1 1/2 cup strong black coffee, room temperature
-
2 tbsp cocoa powder to dust
Instructions
-
Step 1
In a medium bowl, whisk together the egg yolks and granulated sugar until pale yellow and slightly thickened. Stir in the vanilla extract and salt. -
Step 2
In a separate large bowl, whip the cold heavy cream until stiff peaks form. -
Step 3
Gently fold the mascarpone cheese into the egg yolk mixture until just combined. Then, gently fold the whipped cream into the mascarpone mixture until a smooth cream is formed. -
Step 4
Quickly dip each ladyfinger into the room temperature coffee, ensuring they are coated but not soggy. Arrange a layer of coffee-dipped ladyfingers in the bottom of a serving dish. -
Step 5
Spread half of the mascarpone cream mixture evenly over the ladyfingers. Repeat with another layer of coffee-dipped ladyfingers and the remaining mascarpone cream. -
Step 6
Cover the tiramisu and refrigerate for at least 4 hours, or preferably overnight, to allow the flavors to meld and the dessert to set. -
Step 7
Before serving, dust the top generously with cocoa powder.
Important Information
Nutrition Facts (Per Serving)
It is important to consider this information as approximate and not to use it as definitive health advice.
Allergy Information
Please check ingredients for potential allergens and consult a health professional if in doubt.