Sweet Potato Tortillas Gluten-Free Vegan Wraps
Sweet Potato Tortillas (Gluten-Free Vegan Wraps) are about to revolutionize your meal prep and inspire your weeknight dinners! Forget those cardboard-like gluten-free options or the usual corn tortillas; these vibrant, earthy delights offer a whole new level of deliciousness. We all crave versatile, healthy, and satisfying meals, and that’s exactly where these incredible sweet potato tortillas shine. They’re naturally gluten-free and vegan, making them a dream come true for anyone with dietary restrictions or those simply looking to embrace plant-based goodness. Their subtle sweetness and tender texture provide the perfect canvas for all your favorite fillings, transforming simple lunches into gourmet experiences. Get ready to fall in love with the wholesome, customizable nature of these amazing sweet potato tortillas!
Sweet Potato Tortillas (Gluten-Free Vegan Wraps)
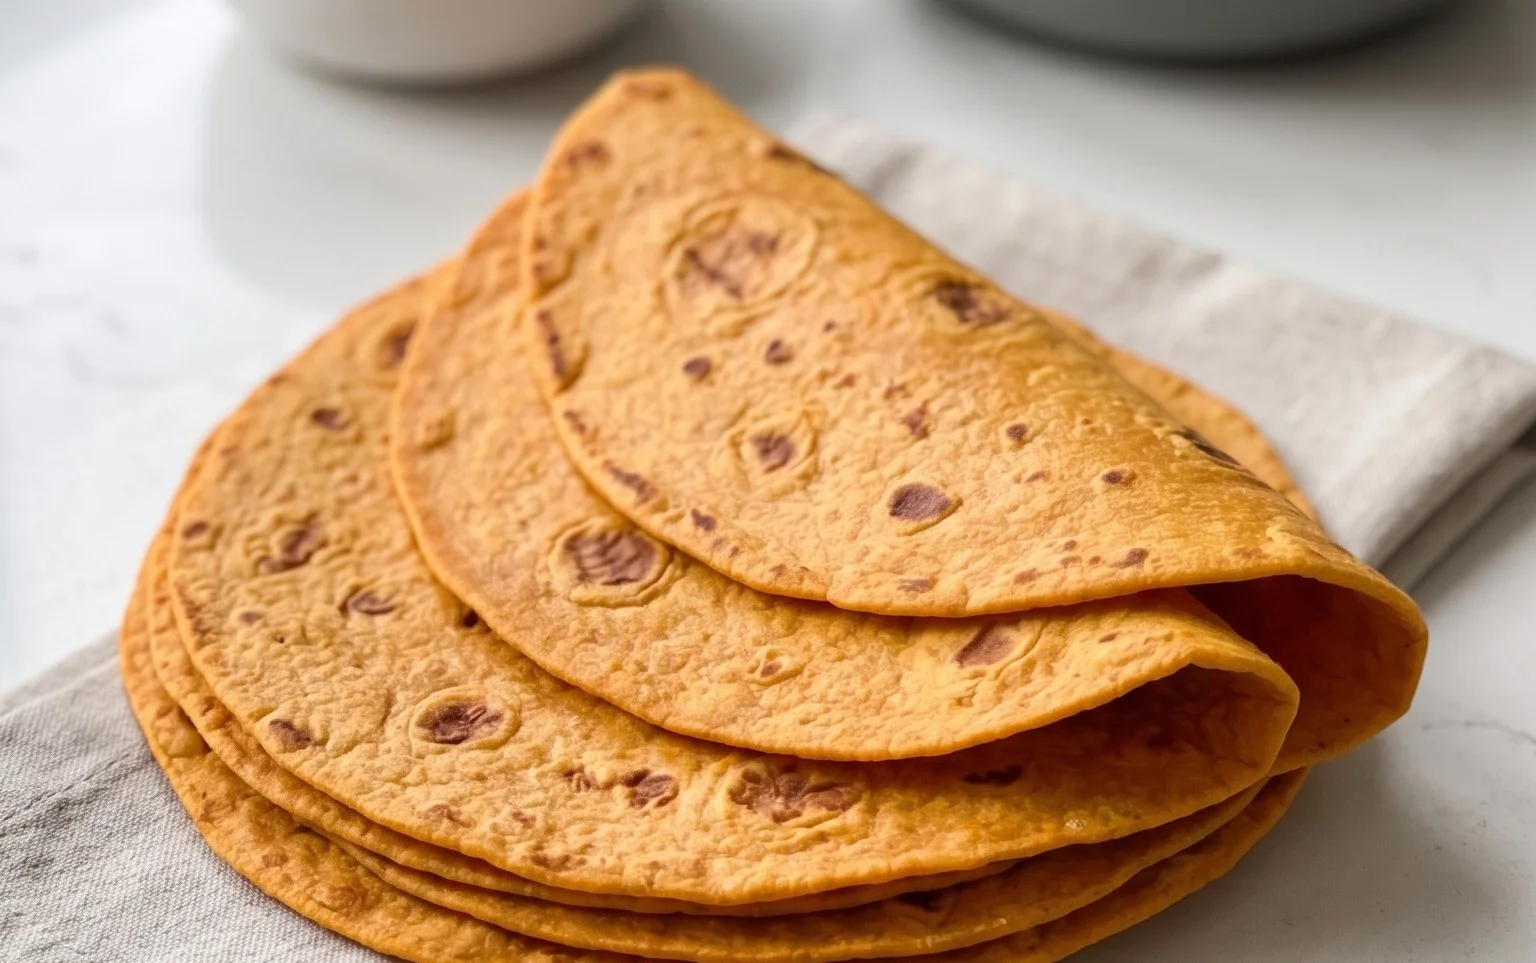
These sweet potato tortillas are a game-changer for anyone following a gluten-free and vegan diet, or frankly, anyone looking for a delicious, wholesome wrap. Forget those bland, dry store-bought options. These are vibrant, slightly sweet, and incredibly pliable, making them perfect for everything from breakfast burritos to weeknight taco nights. The natural sweetness of the sweet potato provides a subtle, delightful flavor that pairs beautifully with savory fillings. Plus, they’re surprisingly easy to make, even if you’re new to gluten-free baking.
The magic of these tortillas lies in the combination of the sweet potato’s moisture and starch with the binding power of psyllium husk and the texture-enhancing sourdough starter. We’re going to transform simple ingredients into flexible, flavorful wraps that you’ll be proud to serve.
Ingredients:
Cooking Instructions
Step 1: Prepare the Sweet Potato Mash
Begin extract by preparing your sweet potatoes. The key here is to ensure they are cooked until very tender but without any added liquid. Steaming or boiling them in their skins and then peeling is ideal. Once cooked, mash them thoroughly in a bowl until you have a smooth, lump-free puree. You want about 1 cup of mashed sweet potato. If you have slightly more or less, it’s okay, but try to be as close as possible to the measurement. Measure out your mashed sweet potato and set it aside.
Step 2: Combine Wet Ingredients and Spices
In a medium-sized mixing bowl, add the vegan butter (or oil/ghee). If your butter isn’t soft, you can gently melt it for a few seconds in the microwave. Add the mashed sweet potato to this bowl. Now, add the sea salt, black pepper, onion powder, and garlic powder. Stir everything together until well combined. This mixture will form the flavorful base of our tortillas. The spices will help to balance the sweetness of the potato and add an aromatic depth.
Step 3: Incorporate the Sourdough Starter and Psyllium Husk
Next, we’ll introduce the gluten-free sourdough starter. If you don’t have a gluten-free sourdough starter, don’t worry! You can substitute it with an additional 1/4 cup of gluten-free flour blend (one that contains xanthan gum) and 1/4 cup of water, mixed together. Let this sit for about 10 minutes to thicken slightly before adding it to the sweet potato mixture. Add the 3/4 cup of gluten-free sourdough starter to the bowl. Then, sprinkle in the psyllium husk. Psyllium husk is crucial for binding the gluten-free ingredients and creating that wonderfully pliable texture. Stir everything together thoroughly. The mixture will start to thicken quite a bit as the psyllium husk absorbs moisture.
Step 4: Add Dry Ingredients and Form the Dough
Now it’s time to add the remaining dry ingredients. Add 2 tablespoons of arrowroot flour (or your chosen starchy flour) to the bowl. If you’re aiming for puffier tortillas, add the 1/2 teaspoon of baking powder at this stage. Gently mix these dry ingredients into the wet mixture. You’re looking for a soft, workable dough. If the dough feels too sticky and difficult to handle, add the remaining tablespoon of arrowroot flour, a little at a time, until it comes together. You want a dough that is slightly tacky but not sticking excessively to your fingers or the bowl. Once the dough has formed, knead it gently for about 30 seconds to a minute, just to ensure everything is fully incorporated.
Step 5: Rest the Dough and Divide
Cover the bowl with a damp cloth or plastic wrap and let the dough rest for at least 15-20 minutes. This resting period is important as it allows the psyllium husk to fully hydrate and the flavors to meld. This step is key to achieving soft, pliable tortillas. After resting, the dough should feel more manageable. Turn the dough out onto a clean surface lightly dusted with arrowroot flour. Divide the dough into 6-8 equal portions, depending on how large you want your tortillas. Roll each portion into a ball.
Step 6: Shape the Tortillas
Working with one ball of dough at a time, place it between two sheets of parchment paper. Use a rolling pin to gently roll out the dough into a thin, even circle, about 6-8 inches in diameter. Aim for a consistent thickness – too thick and they might be doughy, too thin and they could tear. If the dough is sticking to the parchment paper, you can sprinkle a tiny bit more arrowroot flour on top and continue rolling. Carefully peel away the top sheet of parchment paper. You can trim any uneven edges with a knife or pizza cutter if you desire perfectly round tortillas, but rustic edges are also charming! Repeat this process with the remaining dough balls.
Step 7: Cook the Tortillas
Heat a dry, non-stick skillet or griddle over medium heat. You don’t need any oil for this. Once the pan is hot, carefully place one rolled-out tortilla onto the hot surface. Cook for about 1-2 minutes per side, or until you see small golden-brown spots appear and the tortilla starts to puff up slightly. Don’t overcook them, or they will become brittle. Flip the tortilla using a spatula and cook the other side for another 1-2 minutes. The exact cooking time will depend on your stovetop and pan. As each tortilla is cooked, immediately wrap it in a clean kitchen towel or place it in a tortilla warmer. This helps to keep them warm and soft, preventing them from drying out. Continue this process with the remaining tortillas.
Enjoy your homemade sweet potato tortillas! They are best served warm and can be stored in an airtight container in the refrigerator for up to 3 days. Reheat them gently in a dry skillet or microwave before serving.
Conclusion:
And there you have it! These Sweet Potato Tortillas (Gluten-Free Vegan Wraps) are an absolute game-changer for anyone seeking delicious, healthy, and versatile meal options. Their naturally vibrant color, subtle sweetness from the sweet potato, and wonderfully pliable texture make them a fantastic alternative to traditional tortillas. They’re not just free from gluten and animal products, but they’re also packed with nutrients, making them a guilt-free choice for any meal of the day. I truly encourage you to give this recipe a try; you might be surprised by how easy and rewarding it is to create these wholesome wraps from scratch!
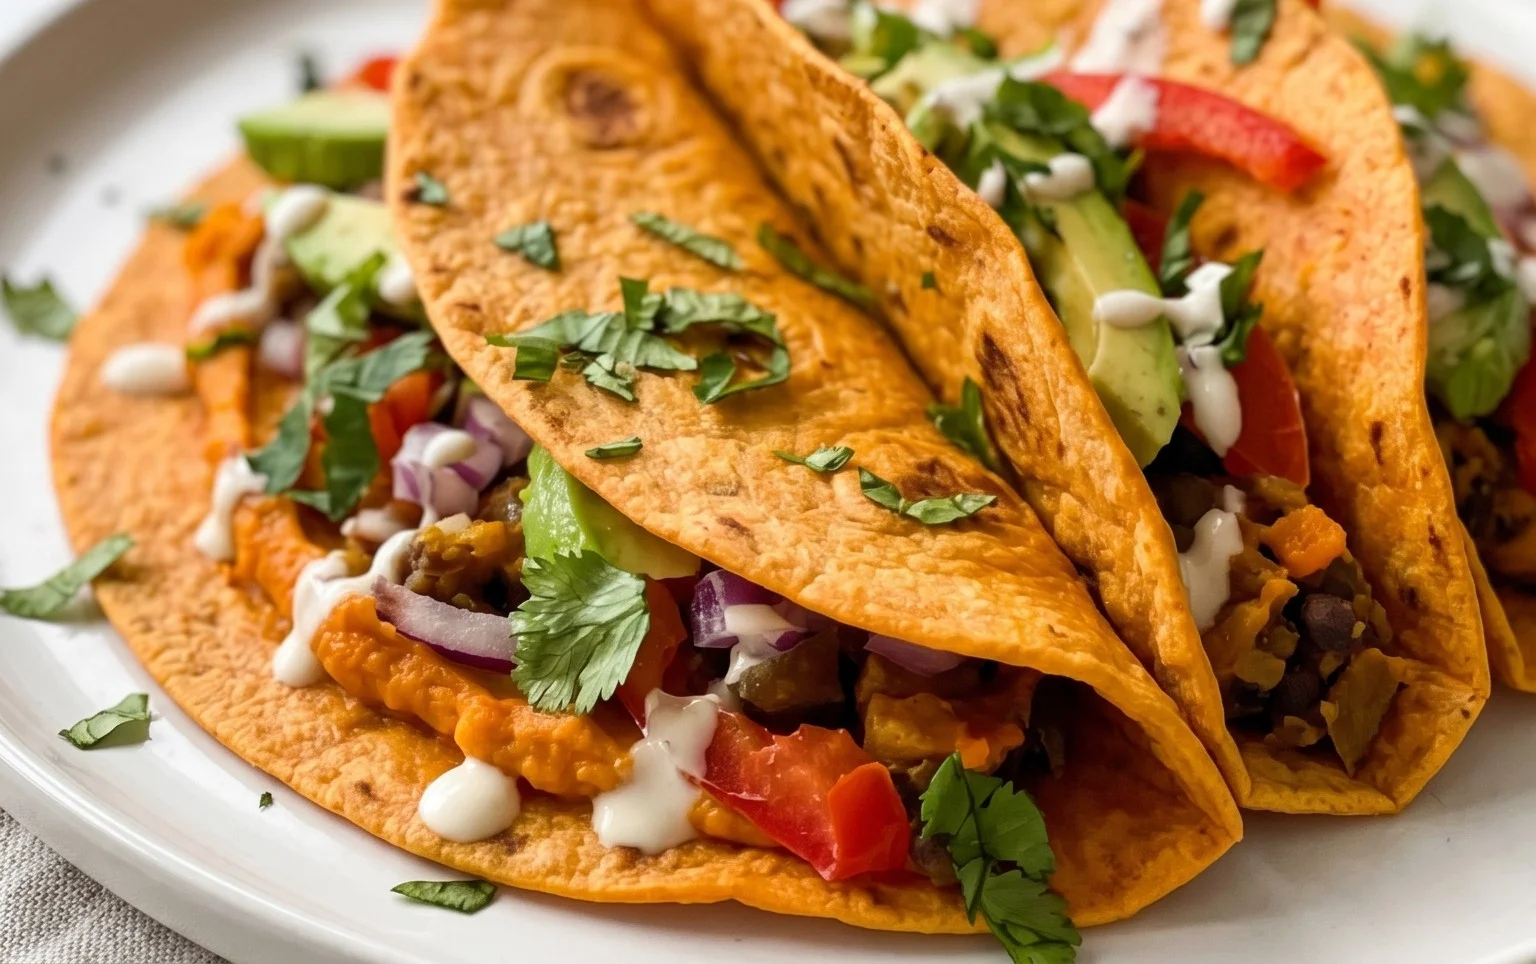
These sweet potato tortillas are incredibly adaptable. Serve them warm for breakfast burritos filled with scrambled tofu and black beans, or use them as a base for colorful lunch wraps brimming with roasted vegetables and hummus. They also make for delightful dinner crepes, perhaps filled with a savory mushroom and spinach mixture. Don’t be afraid to experiment with different spices in the dough – a pinch of cumin or chili powder can add an exciting kick!
Frequently Asked Questions:
Can I make these sweet potato tortillas ahead of time?
Absolutely! Once cooled, you can store the sweet potato tortillas in an airtight container at room temperature for up to two days, or refrigerate them for up to five days. For longer storage, they freeze beautifully. Simply wrap them individually in parchment paper and then place them in a freezer-safe bag for up to three months. Thaw at room temperature or gently reheat them in a skillet or microwave before serving.
What kind of sweet potato should I use?
Most varieties of sweet potatoes will work well, but orange-fleshed varieties like Beauregard or Garnet tend to have a good balance of moisture and sweetness. Ensure the sweet potato is thoroughly cooked and mashed until smooth for the best texture in your tortillas. Overcooking can make them too watery, so aim for tender but not mushy.
Sweet Potato Tortillas (Gluten-Free Vegan Wraps)
Delicious and healthy gluten-free vegan wraps made with sweet potato, perfect for a variety of fillings.
Ingredients
-
2 small sweet potatoes – steamed or boiled (no liquid / mashed)
-
2 tbsp vegan butter
-
1-2 tbsp hot water
-
3/4 tsp sea salt
-
1/4 tsp black pepper
-
1/2 tsp onion powder
-
1/2 tsp garlic powder
-
3/4 cup gluten free sourdough starter
-
2 tsp psyllium husk
-
2-3 tbsp arrowroot flour
-
1/2 tsp baking powder
Instructions
-
Step 1
Mash the steamed or boiled sweet potatoes until smooth. Ensure there is no excess liquid. -
Step 2
In a large bowl, combine the mashed sweet potato, vegan butter (or oil), hot water, sea salt, black pepper, onion powder, and garlic powder. Mix well. -
Step 3
Add the gluten-free sourdough starter and psyllium husk. Stir until combined. -
Step 4
Gradually add the arrowroot flour and optional baking powder, mixing until a soft dough forms. Add more arrowroot flour if the dough is too sticky, 1 tablespoon at a time. -
Step 5
Divide the dough into 6-8 equal portions and roll each into a ball. Flatten each ball into a thin tortilla using a rolling pin or a tortilla press. You can place dough between two pieces of parchment paper for easier rolling. -
Step 6
Heat a lightly oiled skillet or griddle over medium heat. Cook each tortilla for 2-3 minutes per side, until lightly golden and cooked through.
Important Information
Nutrition Facts (Per Serving)
It is important to consider this information as approximate and not to use it as definitive health advice.
Allergy Information
Please check ingredients for potential allergens and consult a health professional if in doubt.