Mini Cookie Butter Cheesecake Cups Recipe
Mini Cookie Butter Cheesecake Cups are about to become your new obsession. Imagin extracte the creamy, dreamy indulgence of classic cheesecake, but infused with the warm, nutty, caramelized magic of cookie butter. If you’ve ever found yourself spooning cookie butter straight from the jar (no judgment, I’ve been there!), then you understand the irresistible allure. This isn’t just another dessert; it’s a flavor explosion waiting to happen. We’re talking a crisp, buttery crust, a velvety smooth cheesecake filling that whispers of Speculoos, and that signature cookie butter goodness that makes every bite an adventure. These Mini Cookie Butter Cheesecake Cups are perfect for parties, a delightful treat for yourself, or simply because life is too short for boring desserts. Get ready to fall head over heels for these little cups of joy!
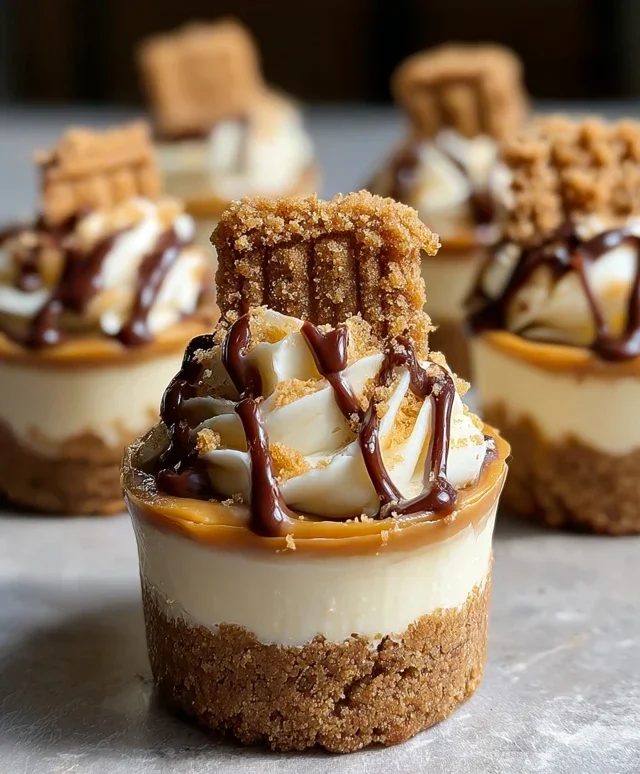
Mini Cookie Butter Cheesecake Cups
Get ready for a treat that’s utterly irresistible! These Mini Cookie Butter Cheesecake Cups are a dream come true for anyone who loves the rich, spreadable magic of cookie butter. Imagin extracte a creamy, decadent cheesecake filling infused with that signature spiced cookie flavor, all nestled on a buttery cookie crust. They’re perfectly portioned for individual indulgence, making them ideal for parties, potlucks, or simply a special weeknight dessert. The combination of textures – the crunchy crust, the silky smooth cheesecake, and the sweet caramel drizzle – is pure bliss. Plus, they’re surprisingly easy to make, meaning you can whip up a batch of these delightful mini cheesecakes without a fuss. Let’s dive into creating these little cups of joy!
Ingredients:
Preparing the Crust
The foundation of our mini cheesecakes is a delightful cookie crust. This is where the flavor journey begin extracts, providing a satisfying crunch with every bite.
Making the Cookie Butter Cheesecake Filling
This is where the magic happens! We’re infusing classic cheesecake with the addictive flavor of cookie butter for an extra special treat.
Assembling and Finishing the Mini Cheesecakes
Now we bring all the elements together to create these stunning mini desserts.
Enjoy every single delightful bite of your homemade Mini Cookie Butter Cheesecake Cups! They’re sure to be a hit with everyone who tries them.
Conclusion:
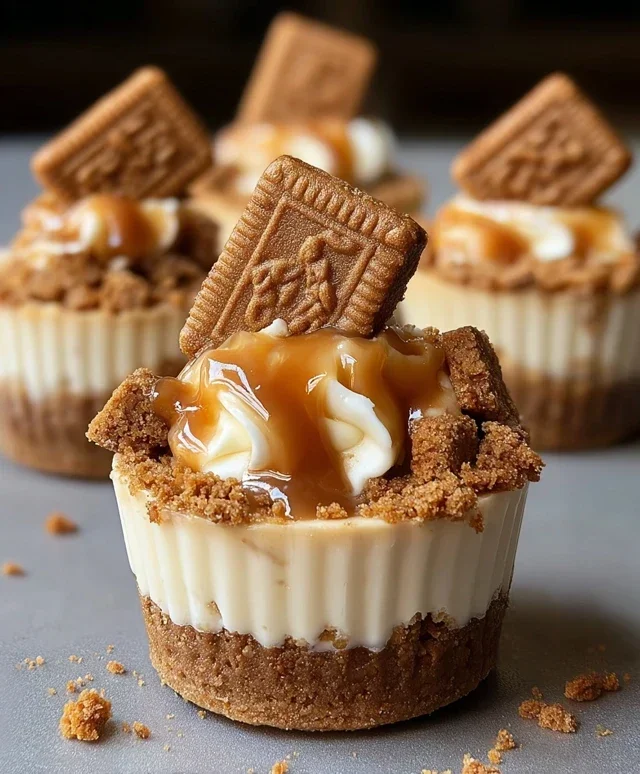
I hope you’ve enjoyed learning how to create these irresistible Mini Cookie Butter Cheesecake Cups! These delightful treats are a true showstopper, offering a perfect balance of creamy cheesecake and the warm, spiced notes of cookie butter. The no-bake aspect makes them incredibly approachable for bakers of all skill levels, and the individual portions are ideal for parties, potlucks, or simply a special dessert for yourself. I personally love how versatile they are; you can easily adapt them to suit your taste preferences.
For serving, these mini cheesecakes are wonderful on their own, but you can elevate them further with a dollop of whipped cream, a drizzle of extra cookie butter, or a sprinkle of crushed speculoos cookies. If you’re looking for variations, consider adding a swirl of chocolate ganache, a layer of salted caramel, or even infusing the cookie butter layer with a hint of cinnamon or gin extractger. I truly encourage you to give these Mini Cookie Butter Cheesecake Cups a try – they’re guaranteed to impress!
Frequently Asked Questions:
Can I make these ahead of time?
Absolutely! These mini cheesecakes are perfect for making ahead. I recommend preparing them at least 4 hours in advance, or even the day before, to allow them to fully set in the refrigerator. This makes them a fantastic option for entertaining.
What if I can’t find cookie butter?
If you’re unable to find cookie butter, don’t worry! You can substitute it with other smooth nut butters like peanut butter or almond butter. For a similar spiced flavor profile, consider using biscoff spread, which is often the same as cookie butter. The taste will be slightly different, but still delicious!
Mini Cookie Butter Cheesecake Cups
Decadent mini cheesecakes with a Biscoff cookie crust and creamy cookie butter filling, perfect for individual servings.
Ingredients
-
1 ½ cups Biscoff cookie crumbs
-
¼ cup melted butter
-
8 oz cream cheese, softened
-
½ cup cookie butter (Biscoff spread)
-
¼ cup powdered sugar
-
½ cup heavy whipping cream
-
1 tsp vanilla extract
-
½ cup caramel sauce
-
Extra Biscoff crumbs
-
Whipped cream
-
Whole Biscoff cookies for garnish
Instructions
-
Step 1
Combine cookie crumbs and melted butter. Press mixture into the bottoms of mini muffin cups or a mini muffin tin lined with paper liners. -
Step 2
In a bowl, beat cream cheese until smooth. Gradually beat in cookie butter and powdered sugar until well combined. -
Step 3
In a separate bowl, whip heavy cream and vanilla extract until stiff peaks form. -
Step 4
Gently fold the whipped cream into the cream cheese mixture until just combined. -
Step 5
Spoon or pipe the cheesecake filling over the cookie crusts. -
Step 6
Drizzle with caramel sauce and sprinkle with extra cookie crumbs. -
Step 7
Garnish with whipped cream and a whole Biscoff cookie before serving.
Important Information
Nutrition Facts (Per Serving)
It is important to consider this information as approximate and not to use it as definitive health advice.
Allergy Information
Please check ingredients for potential allergens and consult a health professional if in doubt.