Honey Sesame Chicken Recipe- Easy & Delicious
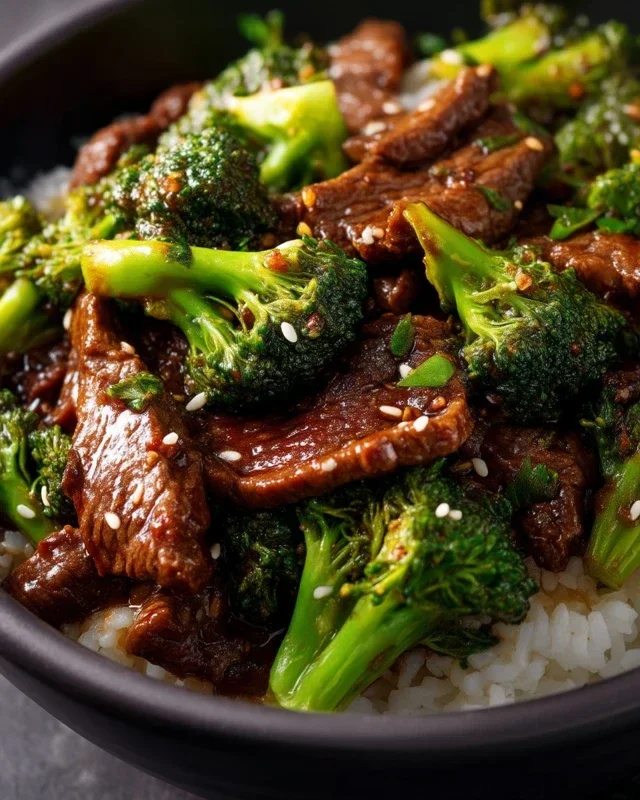
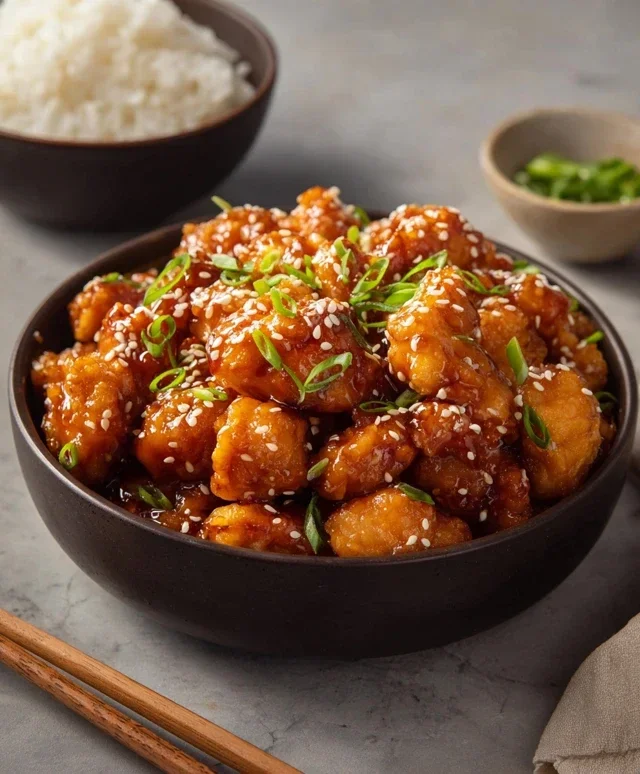
Honey Sesame Chicken is a dish that always brings a smile to my face, and I bet it does for you too! There’s something undeniably comforting and utterly delicious about this classic takeout favorite, reimagin extracted for your own kitchen. Why do we all love it so much? It’s that perfect symphony of flavors and textures: the tender, crispy chicken pieces coated in a sticky, sweet, and savory glaze, bursting with the nutty aroma of toasted sesame seeds. This isn’t just any stir-fry; it’s a culinary hug in a bowl, guaranteed to satisfy those cravings for something both exciting and familiar.
What makes our Honey Sesame Chicken recipe truly special?
We’ve cracked the code to achieving that irresistible restaurant-style crunch at home, ensuring every bite is an explosion of taste that will have you reaching for seconds (and maybe even thirds!). Get ready to elevate your weeknight dinners with this incredibly satisfying and surprisingly easy Honey Sesame Chicken.
Ingredients:
Preparing the Chicken for Frying
The foundation of a truly delicious Honey Sesame Chicken is perfectly cooked, crispy chicken. We’ll start by getting our chicken pieces ready for that signature crunch. In a medium bowl, combine your cut chicken pieces with the chicken bouillon powder, white pepper, and 1 tablespoon of water. This initial seasoning step helps to infuse flavor deep into the chicken, ensuring it’s not bland even after frying. Toss everything together thoroughly so each piece is coated. This might seem like a small step, but it makes a noticeable difference in the overall taste.
Next, we’ll prepare the batter that will give our chicken its golden, crispy exterior. In a separate bowl, whisk together the two large eggs until they are well beaten. This will act as the binder for our dry ingredients. In another bowl, whisk together the all-purpose flour, cornstarch, baking powder, and salt. The cornstarch is key here for achieving that ultra-crispy texture, while the baking powder adds a lightness to the batter, preventing it from becoming too dense. Once your dry ingredients are well combined, add this mixture to the beaten eggs. Stir until you have a thick, but pourable batter. If it seems too thick, you can add a tiny bit more water, a tablespoon at a time, until it reaches the desired consistency. It should be thick enough to coat the chicken but not so thick that it becomes doughy. Finally, stir in the 1/4 cup of water and 2 teaspoons of vegetable oil into the batter. The oil helps the batter to fry up more evenly and adds to the crispiness.
Now, it’s time to coat the chicken. Add the seasoned chicken pieces to the batter. Gently toss them until each piece is thoroughly coated. It’s important to ensure there are no dry spots. You want a good, even layer of batter on every single piece. For the crispiest results, I like to let the coated chicken sit in the batter for about 10-15 minutes at room temperature. This allows the batter to adhere better to the chicken and also gives the baking powder a chance to start working its magic, creating a lighter, airier coating.
Frying the Chicken to Golden Perfection
Now for the crucial frying stage. Heat a generous amount of vegetable oil in a wok or a deep, heavy-bottomed pot over medium-high heat. You’ll want enough oil to ensure the chicken pieces are submerged at least halfway, if not fully, for even cooking. The oil is ready when a small drop of batter sizzles immediately upon hitting the surface. Carefully add the battered chicken pieces to the hot oil, being careful not to overcrowd the pot. Frying in batches is essential. Overcrowding will lower the oil temperature, resulting in soggy, greasy chicken instead of crisp, golden perfection. You want each piece to have plenty of space to fry freely.
Fry the chicken for about 4-6 minutes, or until it’s golden brown and cooked through. You’ll see the batter puff up and turn a beautiful color. Use a slotted spoon or spider strainer to gently turn the pieces occasionally to ensure they cook evenly on all sides. Once they are perfectly golden and crispy, remove them from the oil and place them on a wire rack set over a baking sheet. This allows any excess oil to drain off, maintaining that desirable crispiness. Repeat this frying process with the remaining chicken, ensuring your oil returns to the correct temperature between batches.
Crafting the Irresistible Honey Sesame Sauce
While the chicken is frying or after it’s done and resting, it’s time to whip up that irresistible sauce. In a small saucepan, combine the light soy sauce, oyster sauce, rice vinegar, and ketchup. Stir these ingredients together until they are well incorporated. This is the flavor base for our delicious glaze.
Place the saucepan over medium heat. Bring the sauce to a gentle simmer, stirring occasionally. Allow it to simmer for about 2-3 minutes. You want the sauce to thicken slightly, just enough to coat the chicken beautifully without being too runny. The ketchup adds a touch of sweetness and helps with the color, while the rice vinegar provides a bright, tangy counterpoint to the sweetness of the honey (which we’ll get to next!).
Bringin extractg it All Together
Now for the grand finnon-alcoholic ale! Once your chicken is fried and your sauce is ready, it’s time to combine them. In a large bowl or back in the clean wok (with the heat turned off or very low), add the fried chicken pieces. Pour the prepared honey sesame sauce over the chicken. Gently toss the chicken to ensure every piece is generously coated in the glossy, flavorful sauce. You want to coat the chicken just before serving to maintain its crispiness. If you let it sit in the sauce for too long, it can become soggy.
Finally, transfer the saucy chicken to a serving platter. Sprinkle generously with toasted sesame seeds and thinly sliced green onions. The toasted sesame seeds add a nutty aroma and a delightful crunch, while the green onions provide a fresh, slightly pungent contrast to the rich sauce. Serve immediately and enjoy the explosion of sweet, savory, and slightly tangy flavors with every bite! This Honey Sesame Chicken is perfect served with steamed rice and your favorite stir-fried vegetables for a complete and satisfying meal.
Conclusion:
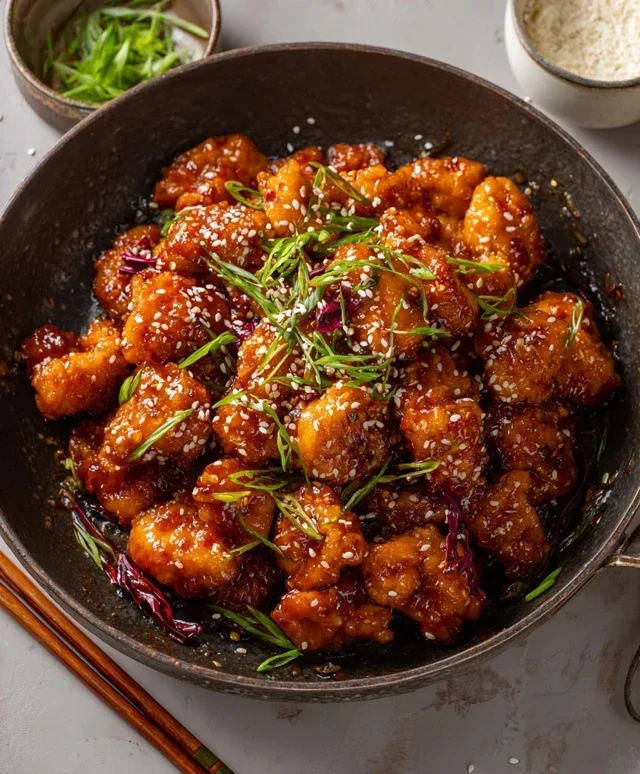
There you have it – a wonderfully simple yet incredibly flavorful Honey Sesame Chicken recipe that’s sure to become a weeknight staple! This dish is fantastic because it delivers that addictive sweet and savory balance with a satisfying crunch, all without requiring a trip to your local takeout. The tender chicken coated in that glossy, golden sauce is simply irresistible, and the toasted sesame seeds add a delightful nutty aroma and texture. I truly encourage you to give this Honey Sesame Chicken a try; you won’t be disappointed!
Serve it piping hot over fluffy white or brown rice, with a side of steamed broccoli or bok choy for a complete and wholesome meal. For a bit of zest, consider adding some thinly sliced green onions or a sprinkle of red pepper flakes just before serving. Feeling adventurous? You can easily swap the chicken thighs for chicken breast, or even try this glaze on shrimp or firm tofu for a vegetarian option. Don’t be afraid to experiment with the spice level by adjusting the amount of chili garlic sauce!
Frequently Asked Questions:
Can I make the sauce ahead of time?
Absolutely! The honey sesame sauce can be prepared a day or two in advance and stored in an airtight container in the refrigerator. You might need to warm it up slightly and give it a good whisk before pouring it over your cooked chicken.
What can I use if I don’t have rice vinegar?
If rice vinegar isn’t available, you can substitute it with apple cider vinegar or white grape juice vinegar. Just be aware that the flavor profile might be slightly different, but it will still be delicious!
How can I make this recipe spicier?
To add more heat, you can increase the amount of chili garlic sauce, or add a pinch of red pepper flakes directly into the sauce mixture. A dash of sriracha can also kick up the spice!
Honey Sesame Chicken
A popular sweet and savory Chinese-American takeout dish, featuring crispy fried chicken coated in a sticky honey and sesame sauce.
Ingredients
-
1 1/2 lb chicken breast or thighs (cut into 1 inch pieces)
-
1 teaspoon chicken bouillon powder
-
1/2 teaspoon white pepper
-
1 tablespoon water
-
2 large eggs
-
1/2 cup all-purpose flour
-
1/2 cup cornstarch
-
2 teaspoon baking powder
-
1/2 teaspoon salt
-
1/4 cup water
-
2 teaspoon vegetable oil
-
3 tablespoon light soy sauce
-
1 tablespoon oyster sauce
-
2 tablespoon rice vinegar
-
2 tablespoon ketchup
Instructions
-
Step 1
In a bowl, combine chicken pieces with chicken bouillon powder, white pepper, and 1 tablespoon water. Mix well and let marinate for 10 minutes. -
Step 2
In a separate bowl, whisk together the eggs. In another bowl, combine flour, cornstarch, baking powder, and salt. Dredge the marinated chicken pieces in the flour mixture, then dip them in the whisked eggs, and finally dredge them again in the flour mixture, ensuring they are fully coated. -
Step 3
Heat vegetable oil in a wok or large skillet over medium-high heat. Carefully add the coated chicken pieces in batches and fry until golden brown and cooked through, about 5-7 minutes per batch. Remove from skillet and drain on paper towels. -
Step 4
In the same skillet (or a clean one), combine light soy sauce, oyster sauce, rice vinegar, ketchup, and 1/4 cup water. Bring to a simmer, stirring until well combined. -
Step 5
Add the fried chicken back into the skillet with the sauce. Toss gently to coat the chicken evenly with the sauce until it becomes sticky and glossy. Serve immediately, garnished with sesame seeds if desired.
Important Information
Nutrition Facts (Per Serving)
It is important to consider this information as approximate and not to use it as definitive health advice.
Allergy Information
Please check ingredients for potential allergens and consult a health professional if in doubt.