Easy Homemade Bread Recipe – Delicious & Simple
Homemade bread. Just the phrase conjures images of warmth, comfort, and the irresistible aroma that fills a kitchen. There’s a primal satisfaction in taking simple ingredients – flour, water, yeast, and salt – and transforming them into a golden, crusty masterpiece. Why do we flock to baking our own loafs? It’s more than just a recipe; it’s an experience. It’s the quiet patience as dough rises, the thrill of that first perfect slice, and the knowledge that you’ve created something truly nourishing with your own hands. The beauty of homemade bread lies in its versatility and its ability to elevate any meal from ordinary to extraordinary. Whether you’re a seasoned baker or just starting, the journey of crafting your own homemade bread is incredibly rewarding, offering a taste of tradition and a tangible connection to the food we eat.
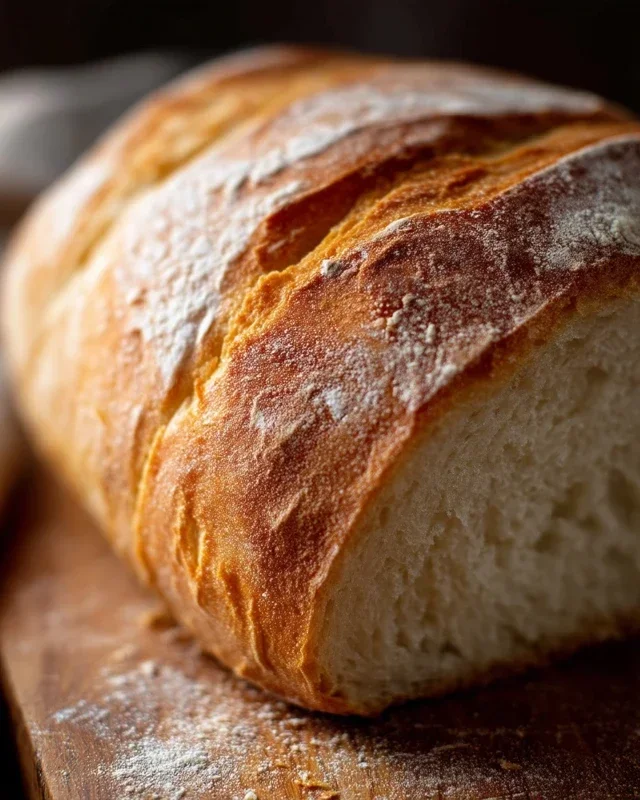
Homemade Bread
There’s a special kind of magic that happens when you pull a loaf of freshly baked bread from your oven. The aroma alone is enough to transport you to a simpler time, and the taste? Well, it’s incomparable to anything store-bought. Making bread from scratch might seem intimidating, but I promise you, it’s a rewarding and surprisingly straightforward process. With just a few pantry staples and a little patience, you can create a loaf that will impress your family and friends, and more importantly, bring a smile to your own face. This recipe is a classic, reliable one that consistently yields a beautiful, soft interior with a perfectly golden crust.
Ingredients:
Getting Started: Activating the Yeast
The first crucial step in our bread-making journey is to awaken the yeast. In a large mixing bowl, combine the warm water. The temperature is important here; too hot and you’ll kill the yeast, too cool and it won’t activate properly. Aim for that sweet spot between 105 and 115 degrees Fahrenheit. You can test this by feeling the water – it should feel comfortably warm on your wrist, like a baby’s bathwater. To the warm water, add your active dry yeast. Give it a gentle stir, then sprinkle in your honey or sugar. The honey or sugar acts as food for the yeast, helping it to multiply and create that lovely lift in your dough. Let this mixture sit undisturbed for about 5-10 minutes. You’ll know the yeast is alive and well when it becomes foamy and bubbly on the surface. If you don’t see this activity, your yeast might be old or the water temperature was off, and you’ll need to start again with fresh yeast.
Mixing the Dough
Once your yeast is happily frothing, it’s time to add the remaining ingredients. To the activated yeast mixture, add the salt and the oil. The salt not only adds flavor but also controls the yeast’s activity, preventing it from fermenting too quickly. The oil adds tenderness and moisture to the finished loaf. Now, it’s time to introduce the flour. Start by adding 4 cups of your all-purpose or bread flour to the bowl. Bread flour, with its higher protein content, is ideal for bread as it develops more gluten, leading to a chewier texture and better rise. However, all-purpose flour will work perfectly fine. Begin extract mixing with a wooden spoon or a sturdy spatula until the ingredients start to come together into a shaggy mass.
Kneading the Dough
This is where the real work (and the fun!) begin extracts. Once the dough is too stiff to mix with a spoon, turn it out onto a lightly floured surface. This is where you’ll start kneading. Kneading develops the gluten structure in the dough, which is essential for a good texture. Push the dough away from you with the heels of your hands, then fold it back over itself. Rotate the dough a quarter turn and repeat. Continue this process for about 8-10 minutes. The dough will start out sticky and rough, but as you knead, it will become smoother, more elastic, and less sticky. If the dough is too sticky, add a tablespoon of flour at a time, but be careful not to add too much, as this can result in a dry loaf. You’re looking for a dough that is smooth, elastic, and springs back slowly when you poke it.
First Rise: Letting the Dough Prove
After kneading, lightly grease a clean bowl with a little oil. Place your kneaded dough in the bowl, turning it once to coat the entire surface with oil. This prevents a dry skin from forming. Cover the bowl tightly with plastic wrap or a damp kitchen towel. Place the bowl in a warm, draft-free spot. A slightly warmed oven (turned off, of course!) or a sunny windowsill is perfect. Let the dough rise for about 1 to 1.5 hours, or until it has doubled in size. This first rise, also known as proving, allows the yeast to work its magic, creating air pockets and developing flavor.
Shaping and Second Rise
Once your dough has impressively doubled, it’s time to punch it down! Gently push your fist into the center of the dough to deflate it. Turn the dough out onto a lightly floured surface again and shape it into your desired loaf. You can create a simple round boule, an oblong loaf for a loaf pan, or even divide it into smaller rolls. If you’re using a loaf pan, grease it well. Place your shaped dough into the prepared pan or onto a baking sheet lined with parchment paper. Cover it again with plastic wrap or a damp towel and let it rise for a second time, this time for about 30-45 minutes, or until it looks noticeably puffy and has increased in size by about 50%.
Baking to Golden Perfection
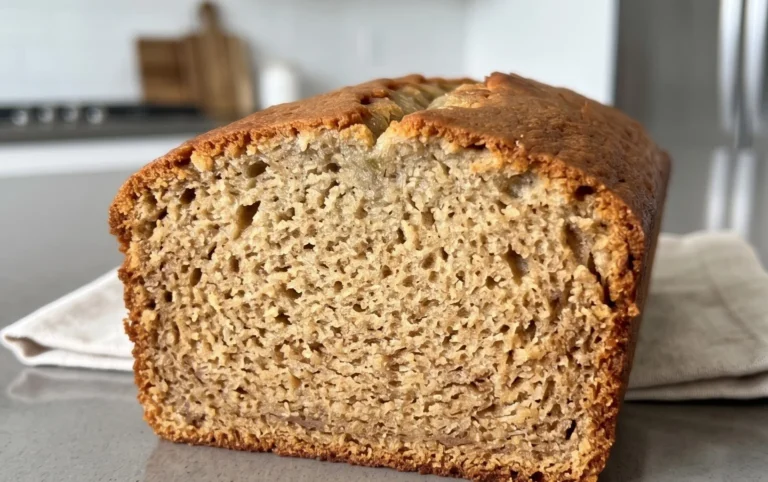
Preheat your oven to 375 degrees Fahrenheit (190 degrees Celsius) during the second rise. Once the dough has had its second rise and your oven is preheated, it’s time to bake! If you like, you can lightly brush the top of the loaf with a little milk or an egg wash for a shinier crust. You can also score the top of the loaf with a sharp knife or a razor blade before baking. This allows steam to escape and creates a beautiful pattern. Carefully place your loaf into the preheated oven. Bake for 30-40 minutes, or until the crust is a deep golden brown and the loaf sounds hollow when tapped on the bottom. The internal temperature should reach around 200-210 degrees Fahrenheit.
Cooling and Enjoying
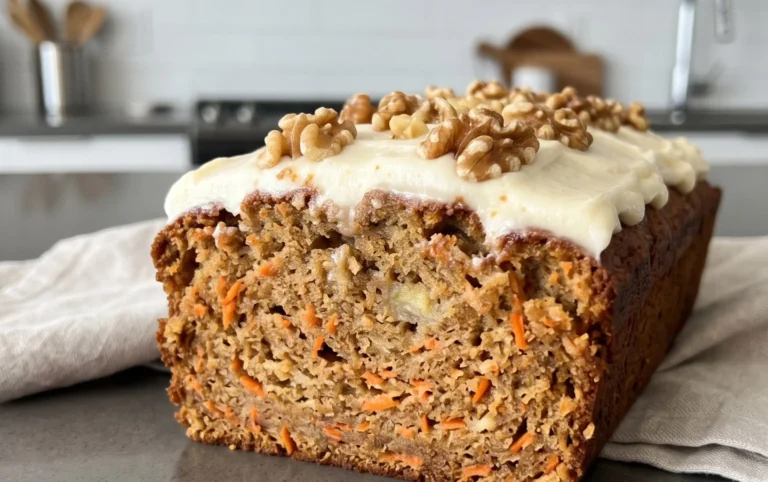
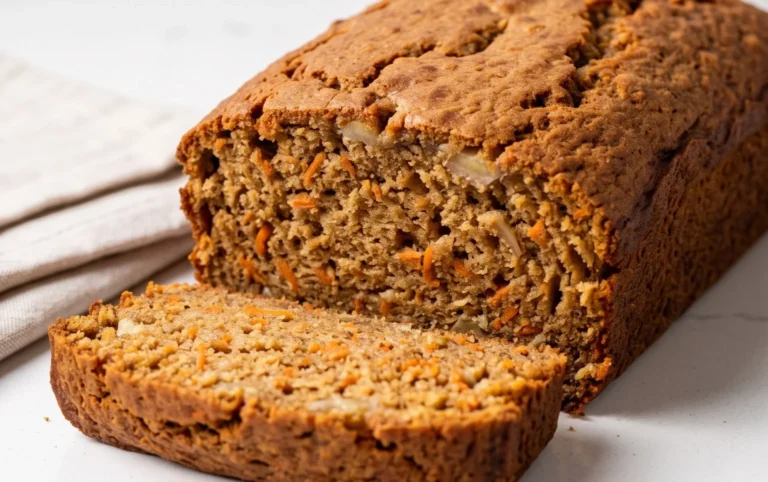
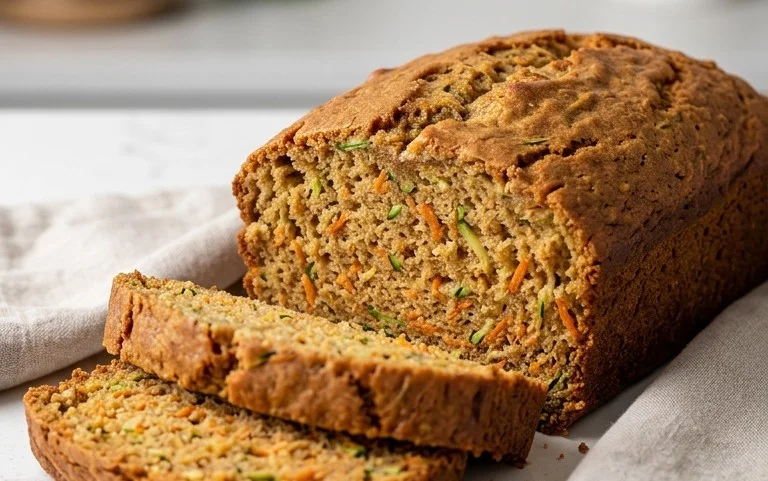
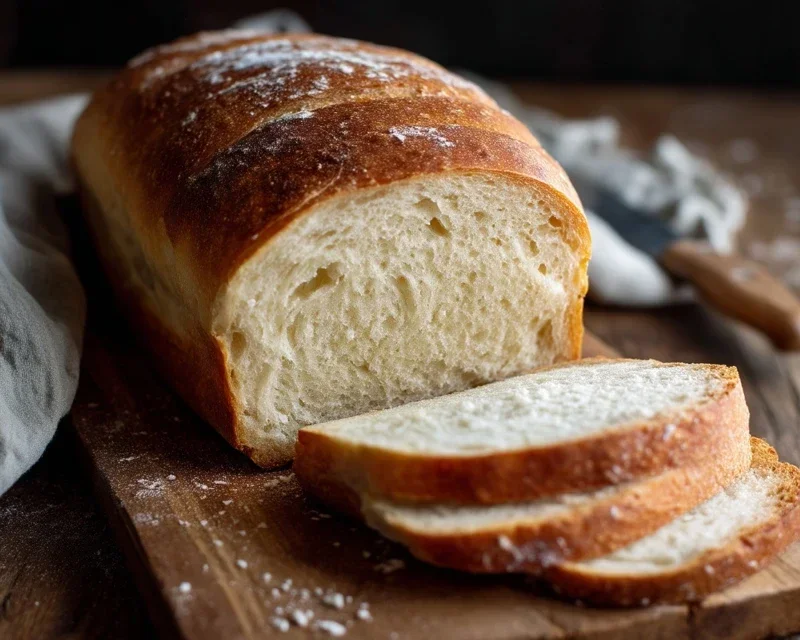
Once your bread is baked to perfection, remove it from the oven and immediately turn it out of the pan onto a wire rack. This is crucial to prevent the bottom crust from becoming soggy. Let the bread cool completely before slicing. Resist the urge to cut into it while it’s still warm; the interior needs time to set properly. Once cooled, slice it thick or thin, spread with butter, and savor the incredible taste of your very own homemade bread. It’s a labor of love that’s always worth the effort!
Conclusion:
And there you have it! You’ve now unlocked the simple magic of making truly delicious homemade bread. This recipe isn’t just about following steps; it’s about experiencing the joy of transforming basic ingredients into a warm, fragrant loaf that’s leagues beyond anything you can buy. The satisfaction of pulling that golden-brown crust from your oven, the irresistible aroma filling your kitchen – it’s an experience that truly nourishes the soul. Don’t be intimidated; this basic loaf is incredibly forgiving and a fantastic starting point for any aspiring baker. Embrace the process, enjoy the textures and smells, and savor every bite.
This versatile homemade bread is perfect served simply with butter, or as the foundation for amazing sandwiches. Think of hearty soups, decadent French toast, or even a simple bruschetta. Feel free to experiment with additions like herbs, seeds, or a touch of honey for added flavor. The possibilities are truly endless!
FAQs
What if my dough doesn’t double in size after rising?
Don’t worry too much! Yeast activity can be influenced by temperature. Ensure your environment is warm but not hot (around 75-80°F is ideal). If it’s cooler, the rise might take longer. As long as it visibly increases in size, it’s likely fine. Overproofing can also happen, so don’t let it go for too many hours beyond doubling.
Can I freeze this homemade bread?
Absolutely! Once completely cooled, slice the loaf and wrap it tightly in plastic wrap, then in foil or a freezer-safe bag. It will stay fresh for up to 2-3 months. Thaw at room temperature or gently toast slices from frozen.
Homemade Bread
A simple and delicious recipe for classic homemade bread.
Ingredients
-
2 cups warm water (105-115 degrees Fahrenheit)
-
1 Tablespoon active dry yeast
-
1/4 cup honey
-
2 teaspoons salt
-
2 Tablespoons canola oil
-
5 cups all-purpose flour
Instructions
-
Step 1
In a large bowl, combine the warm water and honey. Sprinkle the yeast over the water and let it sit for 5-10 minutes until foamy. -
Step 2
Add the salt and canola oil to the yeast mixture. Stir to combine. -
Step 3
Gradually add the flour, 1 cup at a time, mixing until a shaggy dough forms. You may not need all 5 cups of flour. -
Step 4
Turn the dough out onto a lightly floured surface and knead for 8-10 minutes until smooth and elastic. Place the dough in a greased bowl, cover, and let it rise in a warm place for 1 hour, or until doubled in size. -
Step 5
Punch down the dough and shape it into a loaf. Place the loaf in a greased loaf pan. -
Step 6
Preheat oven to 375 degrees Fahrenheit (190 degrees Celsius). Bake for 30-35 minutes, or until the crust is golden brown and the internal temperature reaches 200 degrees Fahrenheit (93 degrees Celsius). -
Step 7
Remove from pan and let cool on a wire rack before slicing.
Important Information
Nutrition Facts (Per Serving)
It is important to consider this information as approximate and not to use it as definitive health advice.
Allergy Information
Please check ingredients for potential allergens and consult a health professional if in doubt.