Easy Chia Seed Pudding – Healthy Breakfast Treat
Chia seed pudding recipe is more than just a breakfast option; it’s a delightful journey into simple, nourishing indulgence. Have you ever craved something satisfyingly creamy, effortlessly healthy, and unbelievably easy to whip up? Look no further. This humble superfood transforms into a dessert-like treat that’s surprisingly good for you. What makes chia seed pudding so utterly lovable? It’s the magic of tiny seeds swelling into a gelatinous, pudding-like consistency, absorbing flavors and creating a luxurious texture without any dairy or cooking. It’s the perfect canvas for your favorite fruits, nuts, and sweeteners, allowing for endless delicious customization. Whether you’re prepping for a busy week or simply want a guilt-free indulgence, this chia seed pudding recipe is your new best friend. Get ready to discover a truly special dish that will become a staple in your kitchen.
Here’s the main content for your chia seed pudding recipe article:
Chia Seed Pudding Recipe
Chia seed pudding is one of my absolute favorite go-to breakfasts or snacks. It’s incredibly simple to make, packed with nutrients, and so versatile. The magic of chia seeds is how they transform into a gelatinous, pudding-like texture when soaked in liquid. This recipe is the base for so many delicious variations, and once you master it, you’ll be hooked. It’s the perfect make-ahead option for busy mornings, requiring minimal effort for maximum deliciousness and health benefits.
This recipe is a fantastic starting point, offering a subtly sweet and creamy base. You can customize it with your favorite fruits, nuts, spices, or even a swirl of nut butter. The beauty lies in its simplicity and the healthy fats, fiber, and protein that chia seeds provide. So, let’s get started on creating your own delightful chia seed pudding!
Ingredients:
Making Your Chia Seed Pudding
This process is remarkably straightforward, and the results are incredibly rewarding. You’ll be amazed at how these tiny seeds transform into a delightful treat. The key is allowing enough time for the chia seeds to absorb the liquid and work their thickening magic.
Step 1: Combine Your Base Ingredients
Grab a jar, a small bowl, or a senon-alcoholic aled container. This is where the magic begin extracts. Into your chosen vessel, carefully measure out the 3 tablespoons of chia seeds. Next, add your sweetener. I’ve specified 1 tablespoon of maple syrup here because it provides a lovely, natural sweetness that complements the chia seeds beautifully without being overpowering. However, feel free to experiment! Honey, agave nectar, or even a sugar-free sweetener like erythritol can be used if you have dietary preferences or restrictions. Just remember to adjust the quantity based on its sweetness intensity. Finally, add the 1 teaspoon of vanilla extract. Vanilla adds a warm, comforting flavor that elevates the pudding from simply “healthy” to “deliciously decadent.”
Step 2: Introduce Your Liquid
Now it’s time to add the liquid that will hydrate and plump up your chia seeds. Measure out 3/4 cup of your milk of choice. The “milk of choice” is where you can really personalize this recipe. Dairy milk works wonderfully, providing a classic creamy texture. For a dairy-free option, almond milk is a popular choice, offering a slightly nutty undertone and good creaminess. Coconut milk, whether from a carton or canned (for extra richness), brings a tropical flair. Oat milk is another excellent choice, known for its smooth and slightly sweet profile. Even soy milk or cashew milk will work perfectly. The amount of liquid is crucial for achieving the right consistency. Too little, and your pudding might be too thick or clumpy; too much, and it might be too runny.
Step 3: Whisk Thoroughly to Prevent Clumping
This is a critical step for achieving a smooth, lump-free pudding. Once all your ingredients – chia seeds, sweetener, vanilla, and milk – are in your container, take a whisk or a fork and stir everything together vigorously. You want to ensure that the chia seeds are evenly distributed throughout the liquid and that no clumps are forming at the bottom. Pay special attention to the sides and bottom of the container to scrape up any seeds that might be sticking. This initial whisking is key to preventing a “chia seed cement” situation later on. Think of it as giving each seed its own personal space in the milk to soak and expand.
Step 4: The Initial Rest and Second Whisking (Crucial!)
After your initial thorough whisking, cover your container. Now, this is where many people make a mistake and leave it for too long. The most important part of preventing clumps and ensuring even thickening is to let the mixture sit for about 5 to 10 minutes, and then – and this is the vital part – give it another good whisk. This second whisking is just as important, if not more so, than the first. It breaks up any seeds that may have started to clump together as they absorbed the initial moisture. Stir it again just as thoroughly, making sure to scrape the bottom and sides of the container. This step ensures a truly smooth and creamy texture, free from those annoying gelled clumps.
Step 5: The Overnight Chill (or Minimum 4 Hours)
Once you’ve completed your second whisking, cover the container tightly. Now, it’s time for patience! The chia seeds need time to absorb the liquid and create that characteristic pudding-like texture. For the best results, I highly recommend letting your chia seed pudding chill in the refrigerator overnight. This allows the seeds to fully hydrate and swell, creating a thick, creamy, and perfectly set pudding. If you’re short on time or forgot to make it the night before, a minimum of 4 hours in the refrigerator will also work, though the texture might be slightly less thick and creamy compared to an overnight soak. The longer it chills, the thicker and more pudding-like it will become.
Serving Suggestions and Variations
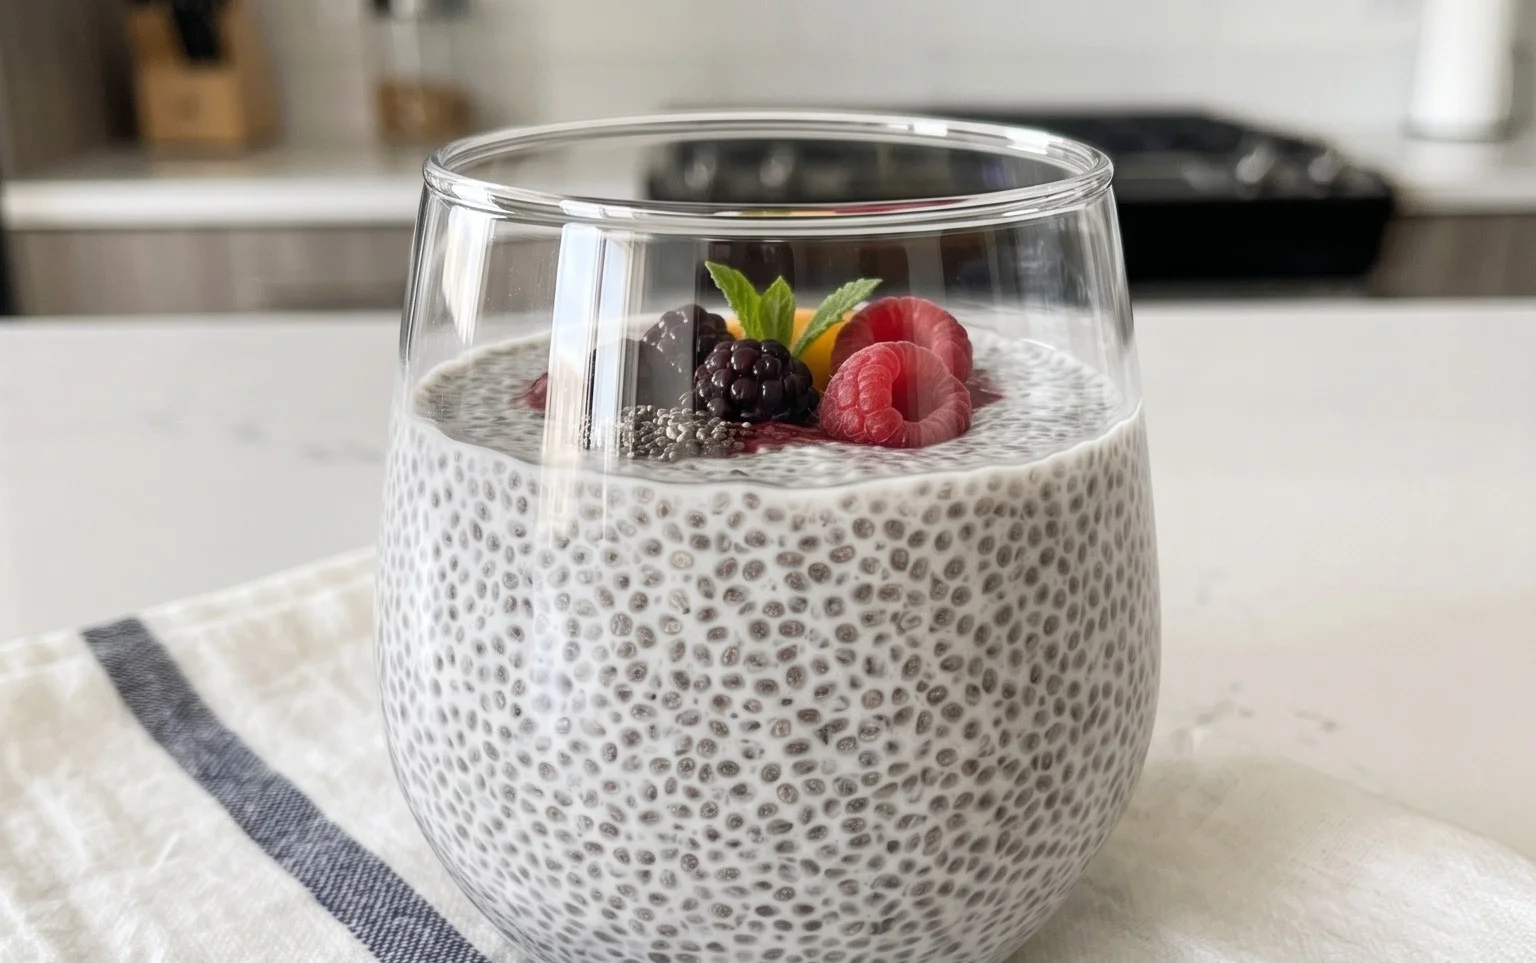
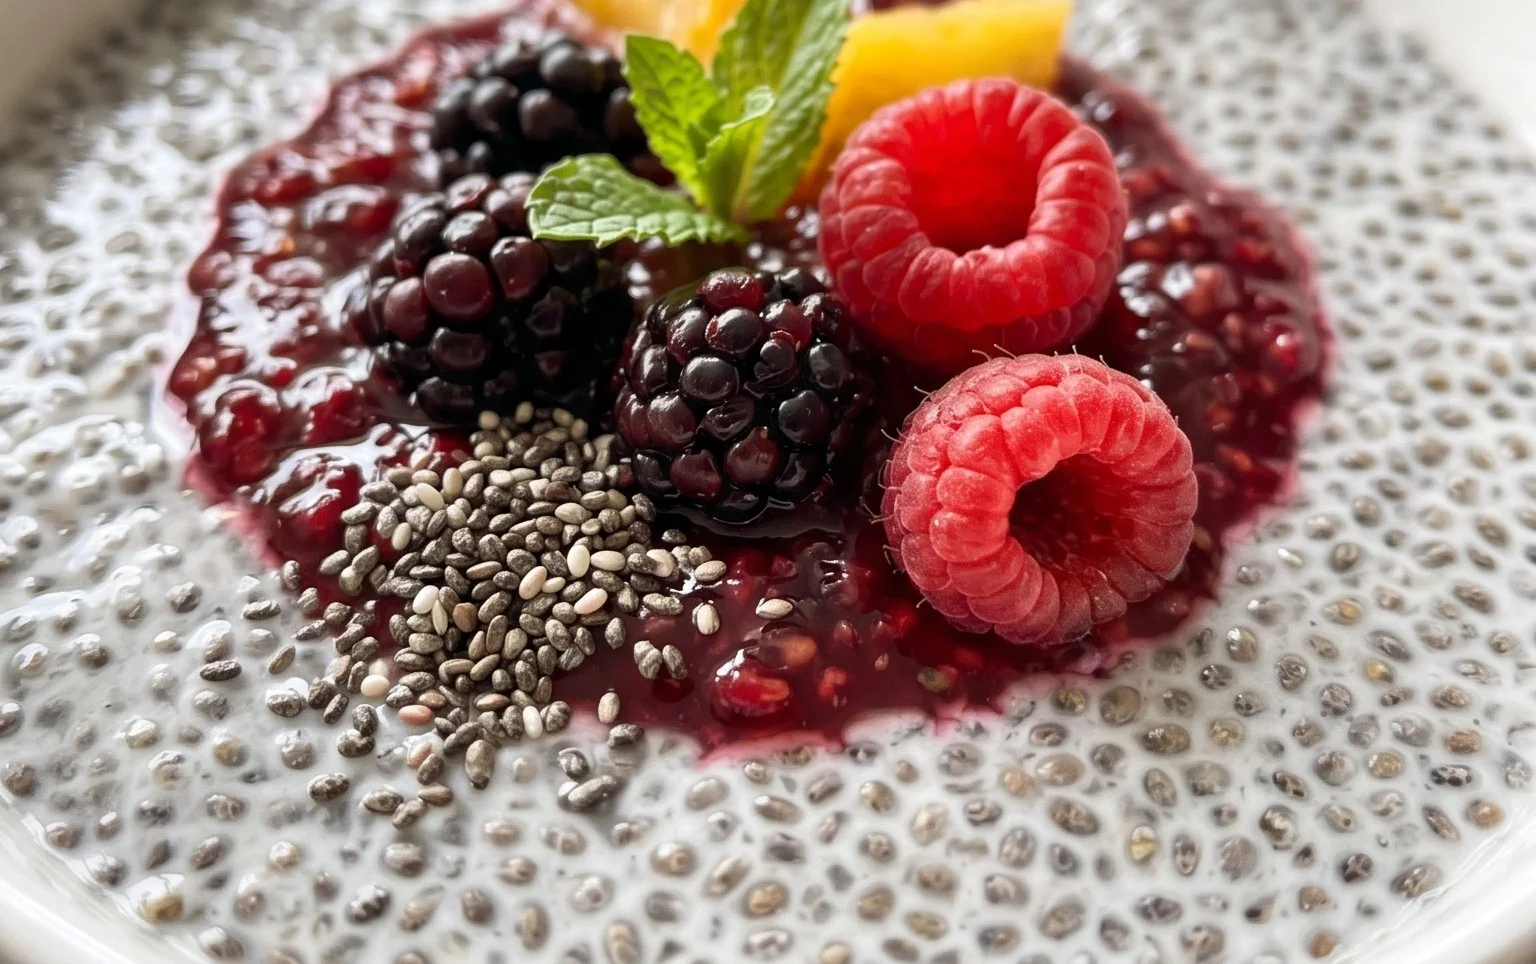
Once your chia seed pudding has reached its desired consistency, it’s ready to be enjoyed! You can eat it straight from the jar, or spoon it into a nice bowl for a more refined presentation. The possibilities for toppings are endless. Fresh berries like raspberries, blueberries, or sliced strawberries are always a fantastic choice, adding a burst of freshness and natural sweetness. A sprinkle of granola or chopped nuts (like almonds, walnuts, or pecans) will provide a satisfying crunch. For an extra layer of decadence, a swirl of nut butter, like almond or peanut butter, is divine. A dusting of cinnamon or a sprinkle of shredded coconut can also add wonderful flavor and texture. Don’t be afraid to get creative and find your favorite combination!
Conclusion:
There you have it – a simple yet incredibly versatile chia seed pudding recipe that’s a nutritional powerhouse and a delight for your taste buds! This recipe is a winner because it’s incredibly easy to whip up with just a few ingredients, requires no cooking, and offers a satisfyingly creamy texture. It’s packed with fiber, omega-3 fatty acids, and antioxidants, making it a fantastic healthy breakfast, snack, or even dessert. I truly encourage you to give it a try; it’s a game-changer for anyone looking for delicious and wholesome meal options.
For serving, I love to top my chia seed pudding with fresh berries, a drizzle of honey or maple syrup, a sprinkle of granola for crunch, or even some chopped nuts for extra healthy fats. Don’t be afraid to get creative! You can easily adapt this base recipe to suit your preferences. Try it with different types of milk like almond, coconut, or oat milk for varied flavors. Add a touch of cocoa powder for a chocolatey twist, or a dash of cinnamon and vanilla for a cozy, spiced version. You could even blend in some fruit like mango or banana for a fruity infusion. The possibilities are endless!
Frequently Asked Questions:
How long does chia seed pudding need to set?
For the best texture, I recommend letting your chia seed pudding set in the refrigerator for at least 2-4 hours. Overnight is even better, as this allows the chia seeds to fully absorb the liquid and create that signature thick, gel-like consistency.
Can I make chia seed pudding with water instead of milk?
While you can use water, the pudding won’t be as creamy or flavorful. Milk (dairy or non-dairy) adds richness and essential nutrients that make the chia seed pudding truly satisfying. I highly recommend using your favorite milk for the best results.
What are the health benefits of chia seed pudding?
Chia seeds are little nutritional cbeef hampions! They are an excellent source of dietary fiber, which aids digestion and promotes satiety. They also provide a good amount of plant-based omega-3 fatty acids, known for their anti-inflammatory properties, and are rich in antioxidants, calcium, magnesium, and phosphorus, contributing to overall well-being.
Chia Seed Pudding Recipe
A simple and healthy chia seed pudding recipe that’s customizable with your favorite milk and sweetener.
Ingredients
-
3 tablespoons chia seeds
-
1 tablespoon maple syrup
-
1 teaspoon vanilla
-
3/4 cup almond milk
-
Pinch of salt
Instructions
-
Step 1
In a bowl or jar, combine the chia seeds, maple syrup, vanilla extract, and almond milk. -
Step 2
Add a pinch of salt to enhance the flavors. -
Step 3
Stir well to ensure the chia seeds are evenly distributed and not clumped together. -
Step 4
Let the mixture sit for 5 minutes, then stir again to break up any clumps that may have formed. -
Step 5
Cover the bowl or jar and refrigerate for at least 2 hours, or preferably overnight, until thickened. -
Step 6
Serve chilled, optionally topped with fresh fruit or nuts.
Important Information
Nutrition Facts (Per Serving)
It is important to consider this information as approximate and not to use it as definitive health advice.
Allergy Information
Please check ingredients for potential allergens and consult a health professional if in doubt.