Easter Chocolate Chip Cookies – Best Recipe
Easter Chocolate Chip Cookies are more than just a treat; they’re a warm hug in cookie form, a symbol of springtime joy, and frankly, the ultimate comfort food. As the days get longer and the air fills with the promise of renewal, there’s something incredibly satisfying about pulling a batch of these golden beauties from the oven. We all have our cherished childhood memories tied to these cookies, whether it was helping our grandma mix the dough or eagerly awaiting that first warm bite. What makes these Easter Chocolate Chip Cookies so special? It’s the perfect balance of chewy centers and slightly crisp edges, the delightful pockets of melted chocolate, and the subtle hint of vanilla that makes them utterly irresistible. This year, let’s elevate them with a touch of Easter magic, transforming them into festive delights that will have everyone hopping with happiness. Get ready to create a new tradition, or revisit an old favorite, with this foolproof recipe for the best Easter Chocolate Chip Cookies you’ll ever bake!
Easter Chocolate Chip Cookies
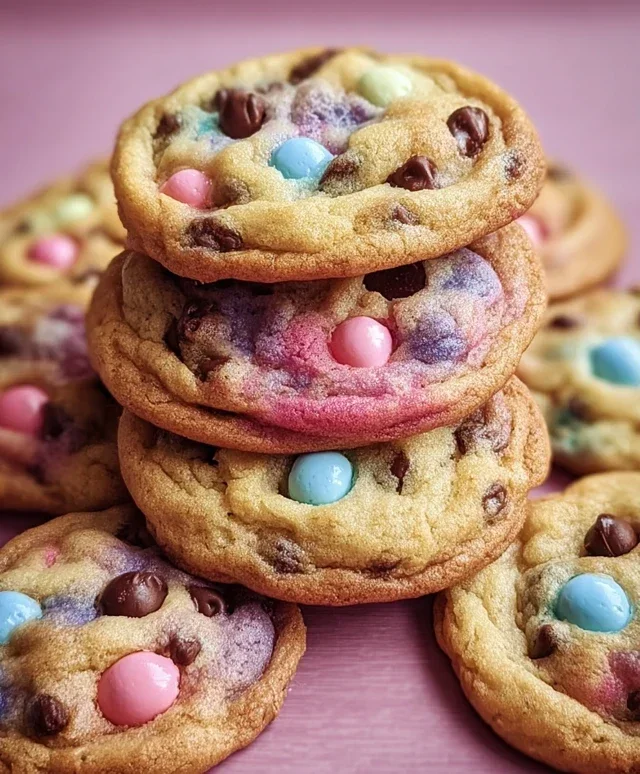
Easter is a time for joy, family, and of course, delicious treats! And what’s more classic and universally loved than a chocolate chip cookie? This year, we’re giving our beloved chocolate chip cookie recipe a festive spring makeover with vibrant pastel colors, perfect for filling Easter baskets or sharing at your next gathering. These cookies are soft, chewy, and bursting with chocolatey goodness, with a delightful visual appeal that screams Easter. Get ready to bake up some smiles!
Ingredients:
Baking the Perfect Pastel Dough
The foundation of any great cookie is the dough, and for these Easter delights, we’re starting with a classic, reliable chocolate chip cookie base. The key to achieving that perfect soft and chewy texture lies in the creaming of the butter and sugars, and ensuring we don’t overmix the flour.
1. Preheat your oven to 375°F (190°C). Line baking sheets with parchment paper or silicone baking mats. This simple step prevents sticking and makes for easy cleanup, allowing you to focus on the fun part – decorating!
2. In a medium bowl, whisk together the all-purpose flour, baking soda, and salt. This dry ingredient mixture is crucial for ensuring even leavening and flavor distribution throughout the cookies. Set this aside for now.
3. In a large bowl, cream together the softened unsalted butter, granulated sugar, and packed brown sugar. You can use an electric mixer for this, starting on low speed and gradually increasing to medium-high until the mixture is light and fluffy. This process incorporates air, which contributes to the cookies’ tender texture. Make sure your butter is truly softened – not melted – as this is essential for proper creaming.
4. Add the large eggs, one at a time, beating well after each addition. Scrape down the sides of the bowl as needed to ensure everything is incorporated. Next, stir in the vanilla extract. The vanilla not only adds a wonderful aroma but also enhances the overall flavor profile of the cookies.
5. Gradually add the dry ingredients to the wet ingredients, mixing on low speed until just combined. It’s very important not to overmix the dough once the flour is added, as this can develop the gluten too much, resulting in tougher cookies. Stop mixing as soon as you no longer see streaks of dry flour.
Creating the Easter Magic
This is where the real fun begin extracts! We’ll be dividing the dough and coloring it to create our beautiful pastel Easter cookies.
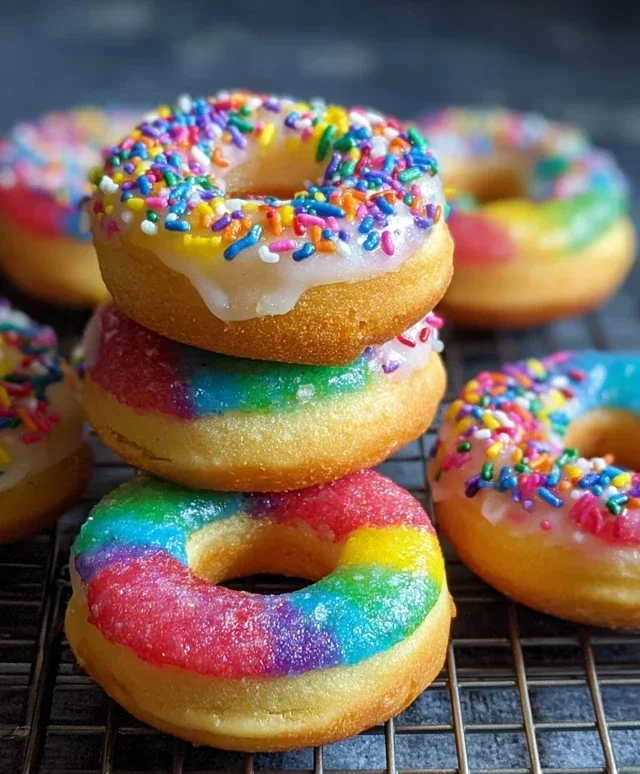
6. Divide the cookie dough evenly into four separate bowls. Add a few drops of gel food coloring to each bowl – pastel pink in one, purple in another, yellow in the third, and blue in the fourth. Gently mix the coloring into each portion of dough until the color is uniform. Gel food coloring is preferred because it’s highly concentrated, meaning you’ll need less to achieve vibrant colors, and it won’t alter the dough’s texture as much as liquid food coloring might. If you want more intense pastels, add another drop or two, but remember to mix thoroughly.
7. Gently fold the chocolate chips into each colored dough portion. Reserve a handful of chocolate chips from each color to press onto the tops of the cookies before baking. This gives them an extra chocolatey punch and a beautiful, finished look.
8. Now, it’s time to combine the colors! Take small portions of each colored dough and gently twist or marble them together. You can do this by simply pressing small blobs of each color next to each other and then gently twisting with your fingers or a spatula. Don’t overwork the dough at this stage; you want distinct swirls of color, not a muddy mess. You can also roll small pieces into balls and then lightly press them together before shaping. For a more marbled effect, you can also gently flatten out small pieces of each color and lay them on top of each other, then roll them up.
9. Roll the marbled dough into balls, about 1 to 1.5 inches in diameter. Place the dough balls onto the prepared baking sheets, leaving about 2 inches between each cookie to allow for spreading. You can press a few extra chocolate chips onto the tops of the dough balls to make them extra appealing.
Baking and Enjoying Your Easter Masterpieces
The final steps are all about transforming that beautiful dough into perfectly baked cookies.
10. Bake for 9 to 12 minutes, or until the edges are lightly golden brown and the centers look slightly underbaked. The cookies will continue to cook on the baking sheet after you remove them from the oven, which is key to achieving that desirable chewy texture. If you prefer a crispier cookie, bake them for a minute or two longer.
11. Let the cookies cool on the baking sheets for 5 minutes before transferring them to a wire rack to cool completely. This resting period allows them to set up properly, preventing them from falling apart. Once cooled, they are ready to be enjoyed!
These Easter Chocolate Chip Cookies are a delightful twist on a classic that’s sure to impress everyone, young and old. They’re perfect for decorating, sharing, and celebrating the arrival of spring. Happy baking!
Conclusion:
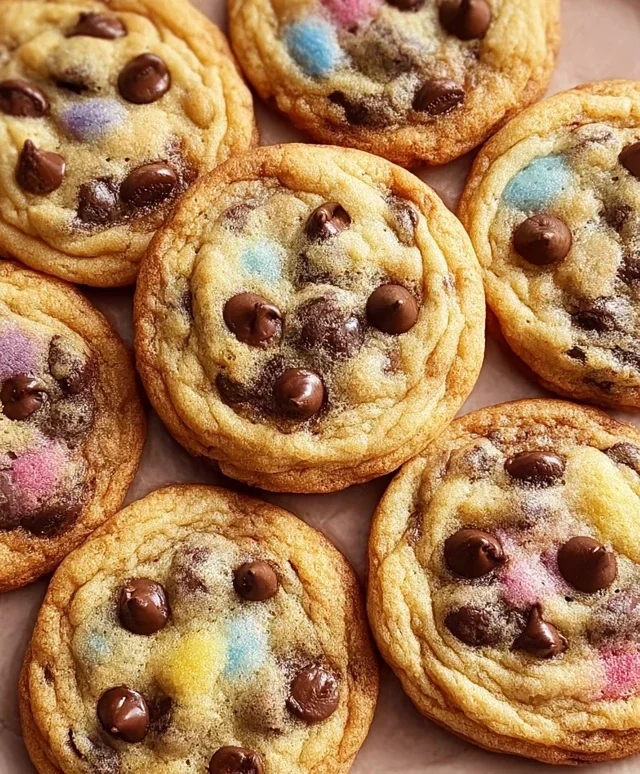
And there you have it – your guide to creating the most delightful Easter Chocolate Chip Cookies! These aren’t just any cookies; they’re little bites of joy, perfect for filling your Easter baskets or sharing with loved ones. The beauty of this recipe lies in its simplicity and its incredibly satisfying results. You get that perfect chewy center with slightly crisp edges, a testament to the careful balance of ingredients and baking time. They’re wonderfully versatile, making them an ideal base for all sorts of Easter-themed fun.
Serve these warm from the oven for an irresistible treat, or let them cool completely and package them up as thoughtful edible gifts. They are fantastic alongside a glass of cold milk, or even with a cup of hot cross bun spiced tea. Don’t hesitate to get creative with variations! Consider adding a sprinkle of colorful Easter M&Ms, a swirl of pastel-colored icing, or even a pinch of cinnamon for a warm, comforting flavor. This Easter Chocolate Chip Cookie recipe is incredibly forgiving, so I wholeheartedly encourage you to give it a try and experience the magic for yourself. Happy baking!
Frequently Asked Questions:
Why are my cookies spreading too much?
Over-creaming your butter and sugar, using melted butter instead of softened, or an oven temperature that’s too low can all contribute to excessive spreading. Make sure your butter is softened to room temperature but not melted, and consider chilling your dough for at least 30 minutes before baking for a chewier, thicker cookie.
Can I make these cookies ahead of time?
Absolutely! You can prepare the dough and store it, covered tightly, in the refrigerator for up to 3 days. For longer storage, you can freeze cookie dough balls on a baking sheet until firm, then transfer them to an airtight container for up to 3 months. Bake from frozen, adding a few extra minutes to the baking time.
Easter Chocolate Chip Cookies
Festive chocolate chip cookies with pastel-colored dough, perfect for Easter.
Ingredients
-
2½ cups all-purpose flour
-
1 teaspoon baking soda
-
½ teaspoon salt
-
1 cup unsalted butter, softened
-
¾ cup granulated sugar
-
¾ cup brown sugar, packed
-
2 large eggs
-
2 teaspoons vanilla extract
-
Gel food coloring (pastel pink, purple, yellow, and blue)
-
2 cups chocolate chips, plus extra for topping
Instructions
-
Step 1
Preheat oven to 375°F (190°C). Line baking sheets with parchment paper. -
Step 2
In a medium bowl, whisk together flour, baking soda, and salt. -
Step 3
In a large bowl, cream together softened butter, granulated sugar, and brown sugar until light and fluffy. -
Step 4
Beat in eggs one at a time, then stir in vanilla extract. -
Step 5
Gradually add the dry ingredients to the wet ingredients, mixing until just combined. Divide the dough into four equal portions. Tint each portion with a different pastel food coloring. -
Step 6
Gently swirl the different colored doughs together in small clusters without overmixing. Stir in the chocolate chips. -
Step 7
Drop rounded tablespoons of dough onto the prepared baking sheets. Sprinkle with extra chocolate chips if desired. -
Step 8
Bake for 9-11 minutes, or until edges are golden brown and centers are still slightly soft. -
Step 9
Let cookies cool on the baking sheets for a few minutes before transferring them to a wire rack to cool completely.
Important Information
Nutrition Facts (Per Serving)
It is important to consider this information as approximate and not to use it as definitive health advice.
Allergy Information
Please check ingredients for potential allergens and consult a health professional if in doubt.