Buster Bar Ice Cream Dessert- Easy & Delicious Recipe
Buster Bar Ice Cream Dessert: Get ready to unlock a childhood favorite with this absolutely divine homemade version of the classic Buster Bar Ice Cream Dessert! If the mere mention of this legendary treat brings a smile to your face and a craving to your taste buds, you’re in for a serious delight. We all have those iconic flavors that transport us back to simpler times, and for many, that’s precisely what the Buster Bar Ice Cream Dessert does. It’s that perfect symphony of crunchy chocolate coating, creamy ice cream, and a surprising, delightful caramel center that simply makes everything feel right in the world. This isn’t just dessert; it’s an experience, a nostalgic journey that you can now recreate right in your own kitchen. Prepare to be amazed at how easily you can capture that signature magic and share it with loved ones.
Buster Bar Ice Cream Dessert
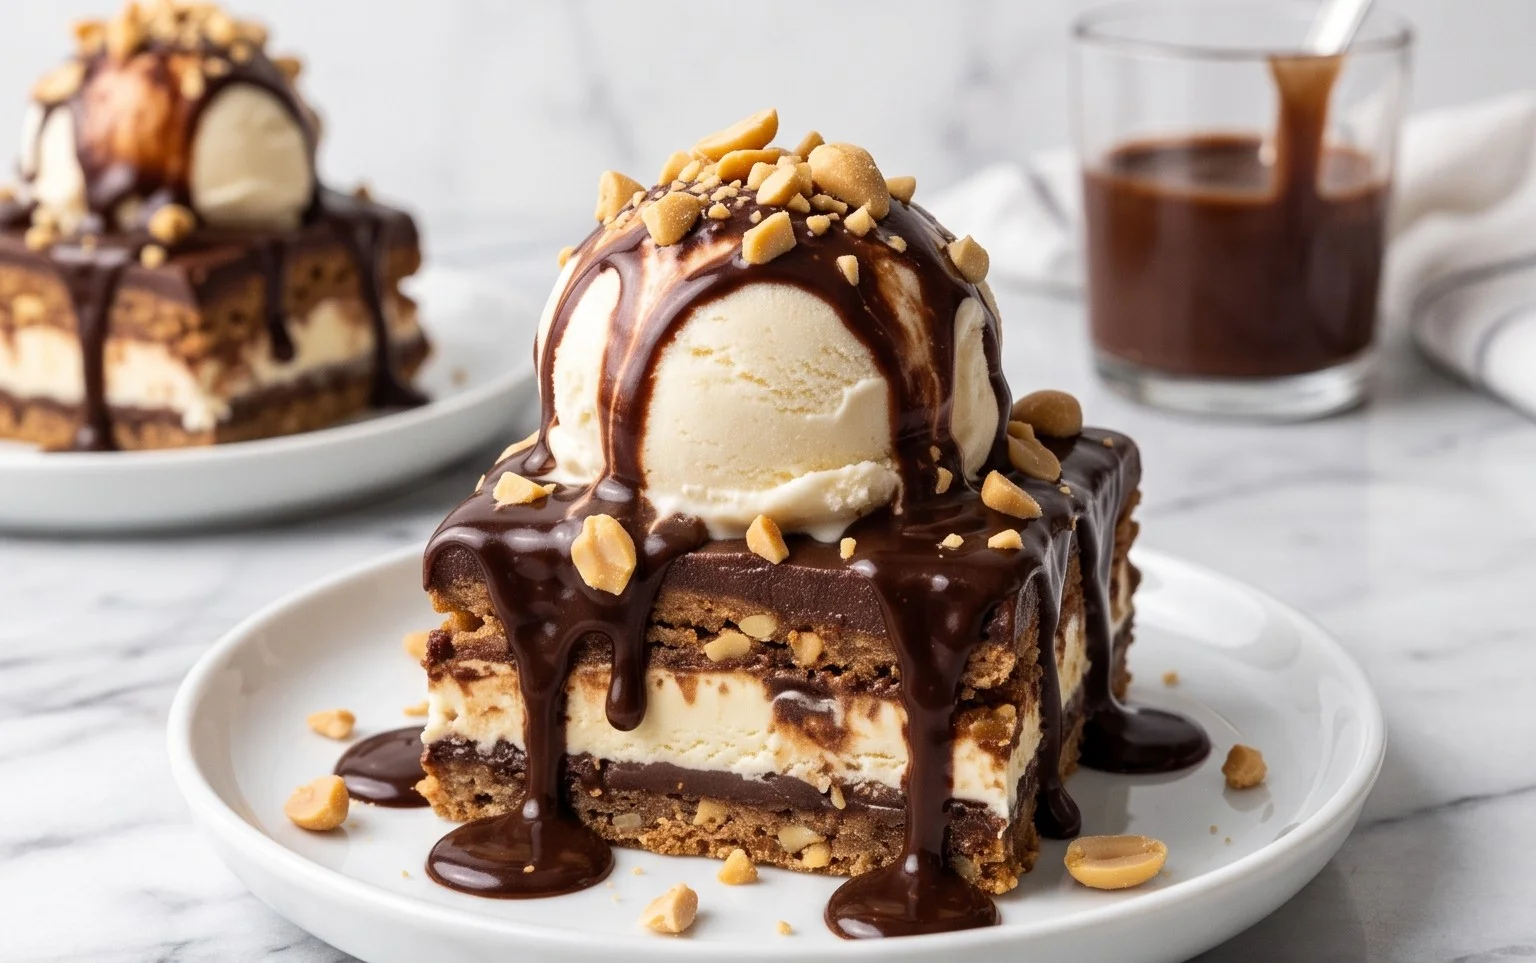
There are some desserts that just scream “nostalgia.” The Buster Bar Ice Cream Dessert is one of them. It’s that perfect blend of creamy, crunchy, and chocolatey goodness that brings back memories of summer days and childhood treats. Forget those store-bought bars; this homemade version is so much better and surprisingly easy to make. It’s a no-bake marvel that will have everyone asking for the recipe. The beauty of this dessert lies in its simplicity and the decadent flavors that come together in perfect harmony. So, let’s gather our ingredients and embark on a delicious journey to create this iconic treat!
Ingredients:
Preparing the Crust
The foundation of any great dessert is a solid crust, and our Buster Bar is no exception. We start by transforming those beloved Oreo cookies into a delicious crum extractbly base. For the best texture, I like to crush my Oreos quite finely. You can do this in a food processor for speed and consistency, or if you’re feeling a bit more hands-on, place them in a sturdy zip-top bag and get to work with a rolling pin. Aim for a fine crum extractb that’s not quite dust but definitely no large chunks. Once your Oreos are finely crushed, it’s time to bind them together. In a medium bowl, combine the crushed Oreos with the melted butter. Stir thoroughly until all the cookie crum extractbs are evenly moistened by the butter. This will ensure your crust holds its shape beautifully.
Now, we’ll press this delightful mixture into our baking pan. A 9×13 inch baking pan is ideal for this recipe. Press the Oreo-butter mixture firmly and evenly across the bottom of the pan. You can use the back of a spoon or even the bottom of a flat glass to get a nice, compact layer. The firmer you press, the less likely it is to crum extractble when you serve your dessert. Don’t skip this step! Once pressed, pop the pan into the freezer for about 15-20 minutes to allow the crust to firm up. This will make spreading the ice cream so much easier.
Layering the Ice Cream and Peanuts
With our crust chilling, let’s turn our attention to the star of the show: the ice cream. Make sure your vanilla ice cream has softened to a spreadable consistency. If it’s too hard, you’ll struggle to get an even layer. If it’s too soft, it might melt into the crust. It should be pliable, like a thick milkshake. Once it’s ready, carefully spoon the softened ice cream over the chilled Oreo crust. Gently spread it out in an even layer, making sure to reach all the corners of the pan. The goal is a smooth, consistent layer of creamy vanilla goodness.
Now for the satisfying crunch! We’re going to scatter the Spanish peanuts generously over the softened ice cream. Don’t be shy with them – they are essential to that classic Buster Bar experience. I like to press them in slightly so they adhere to the ice cream and don’t all fall off when you cut into the dessert. You want those delightful little explosions of nutty flavor in every bite. Once the peanuts are in place, return the pan to the freezer. This layer needs to freeze solid, so allow at least 2-3 hours. The longer it freezes, the easier it will be to cut and handle. Patience here is key to a perfectly structured Buster Bar!
Crafting the Chocolatey Drizzle
While our ice cream layer is hardening, we can prepare the heavenly chocolate drizzle that truly elevates this dessert. This part is incredibly simple but yields a rich, decadent topping. In a medium saucepan, combine the semi-sweet chocolate chips, the 1/2 cup of butter, and the evaporated milk. Place the saucepan over low heat. It’s important to use low heat here to prevent the chocolate from scorching. Stir constantly as the butter melts and the chocolate chips begin extract to soften. Keep stirring gently until the mixture is completely smooth and glossy. The evaporated milk adds a lovely creaminess and helps create a wonderfully pourable, rich chocolate sauce.
Once the chocolate mixture is smooth and well combined, remove it from the heat. Allow it to cool slightly. You want it to be warm enough to pour easily but not so hot that it melts the ice cream layer. A good test is to dip a spoon into it; it should be fluid but not runny. If it seems too thick, you can add a tiny splash more evaporated milk (just a teaspoon at a time) and stir until it reaches the desired consistency. This chocolate drizzle is what gives the Buster Bar its signature finish.
Assembling and Serving
Once your ice cream and peanut layer is thoroughly frozen and solid, it’s time for the final, glorious topping. Retrieve the pan from the freezer. Drizzle the slightly cooled chocolate mixture evenly over the entire surface of the frozen ice cream. You can use a spoon or a spatula to spread it out if needed, but a free-flowing drizzle is often the most appealing. Try to get an even coating.
Now, the most crucial step for that authentic Buster Bar look and taste: sprinkle the powdered confectioner’s sugar over the chocolate. This adds a subtle sweetness and a beautiful, slightly hazy finish that is quintessential to this dessert. You can use a sieve for a more even distribution, or just sprinkle it by hand.
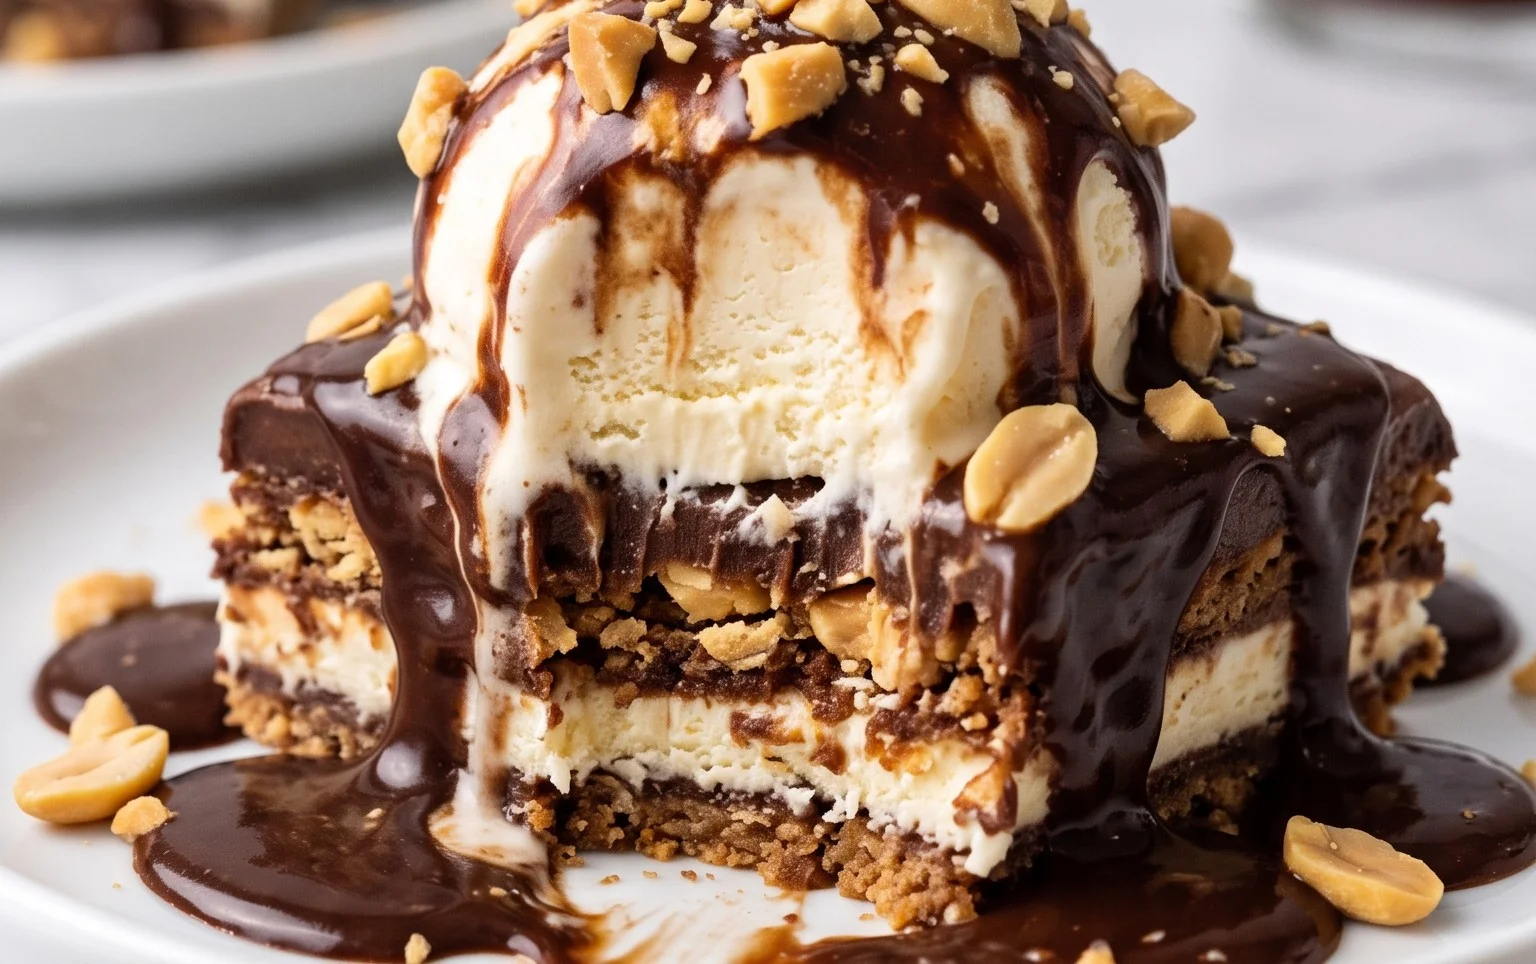
Finally, return the entire dessert to the freezer for at least another hour, or ideally until you’re ready to serve. This allows the chocolate to set completely. When you’re ready to dig in, let the pan sit at room temperature for about 5-10 minutes to soften slightly, making it easier to cut. Cut into squares or bars, and enjoy your homemade Buster Bar Ice Cream Dessert! It’s a labor of love that’s absolutely worth every moment.
Conclusion:
And there you have it – the ultimate guide to crafting your very own Buster Bar Ice Cream Dessert! I hope you’re as excited to whip up this treat as I am to share it. This recipe is truly a winner because it captures all the beloved nostalgic flavors of the classic candy bar in an incredibly easy-to-make dessert. The combination of creamy ice cream, rich chocolate, crunchy peanuts, and that signature caramel swirl is simply irresistible. It’s perfect for any occasion, whether you’re celebrating a birthday, hosting a summer barbecue, or simply craving something decadent.
I love serving this Buster Bar Ice Cream Dessert chilled, perhaps with an extra drizzle of hot fudge or a sprinkle of crushed peanuts for added texture. For those looking to get creative, consider swapping out the vanilla ice cream for chocolate or even a coffee flavor. You could also experiment with different nuts, like almonds or pecans, or even add a layer of crum extractbled cookies at the bottom for an extra surprise. Don’t be afraid to make this recipe your own! I truly encourage you to give this Buster Bar Ice Cream Dessert a try – I guarantee it will become a family favorite.
Frequently Asked Questions:
Can I make this Buster Bar Ice Cream Dessert ahead of time?
Absolutely! In fact, making it ahead of time is highly recommended. This allows the flavors to meld beautifully and ensures the dessert is perfectly set. You can assemble it a day or two in advance and keep it stored in the freezer.
What kind of ice cream is best for this recipe?
While vanilla ice cream is traditional and allows the other flavors to shine, feel free to experiment! A good quality French vanilla or even a rich chocolate ice cream would be fantastic. The key is to use an ice cream that freezes relatively firm.
Is it possible to make this dessert dairy-free?
Yes, it is! You can easily adapt this recipe by using your favorite dairy-free vanilla ice cream, dairy-free chocolate chips or syrup, and a plant-based caramel sauce. Ensure your peanuts are also suitable for a dairy-free diet.
Buster Bar Ice Cream Dessert
A no-bake ice cream dessert layered with crushed Oreos, creamy vanilla ice cream, crunchy peanuts, and a rich chocolate topping.
Ingredients
-
1 14.3 oz pkg. of Oreo cookies, (crushed)
-
1/2 C butter, (melted)
-
1/2 gal. vanilla ice cream, (softened)
-
1 lb. Spanish peanuts
-
2 C powdered confectioner’s sugar
-
12 oz semi sweet chocolate chips
-
1/2 C butter
-
12 oz evaporated milk
Instructions
-
Step 1
In a bowl, combine crushed Oreo cookies and 1/2 cup melted butter. Press mixture evenly into the bottom of a 9×13 inch pan. -
Step 2
Spread softened vanilla ice cream evenly over the cookie crust. Sprinkle 1 lb Spanish peanuts over the ice cream. -
Step 3
In a saucepan over low heat, melt 12 oz semi sweet chocolate chips with 1/2 cup butter and 12 oz evaporated milk, stirring constantly until smooth. -
Step 4
Stir in 2 cups powdered confectioner’s sugar until well combined and smooth. -
Step 5
Pour the warm chocolate mixture evenly over the peanut layer. -
Step 6
Freeze for at least 4 hours, or until firm. Cut into squares and serve.
Important Information
Nutrition Facts (Per Serving)
It is important to consider this information as approximate and not to use it as definitive health advice.
Allergy Information
Please check ingredients for potential allergens and consult a health professional if in doubt.