Easy Refreshing Lemon Sorbet Recipe
Lemon Sorbet, that vibrant, zesty jewel of the dessert world, is more than just a frozen treat; it’s a sensory awakening. Imagin extracte the bright tang of sun-ripened lemons bursting on your tongue, a refreshing counterpoint to any meal, or a delightful standalone indulgence. There’s an undeniable magic in its simplicity, a purity that speaks to the soul. What makes Lemon Sorbet so universally beloved? It’s the perfect balance of sweet and tart, a clean, crisp flavor that never feels heavy. It cuts through richness, revitalizes the palate, and leaves you feeling invigorated. This isn’t just ice; it’s a concentrated burst of sunshine, a sophisticated yet incredibly easy dessert that brings a touch of pure bliss to any occasion. Get ready to experience the ultimate refreshing escape with our guide to crafting this exquisite Lemon Sorbet.
Ingredients:
Lemon Sorbet: A Burst of Sunshine in Every Scoop
There’s something truly magical about a perfectly crafted sorbet. It’s a simple yet elegant dessert, a refreshing counterpoint to rich meals, and a delightful treat on a warm day. And when it comes to sorbet, few flavors are as universally loved and invigorating as lemon. My recipe for Lemon Sorbet is designed to be incredibly easy to make, yielding a bright, tangy, and wonderfully smooth frozen delight. Forget those icy, bland store-bought versions; this homemade sorbet will capture the very essence of fresh lemons, transforming them into a vibrant, palate-cleansing masterpiece.
The beauty of this sorbet lies in its simplicity. With just a few key ingredients, you can create a dessert that feels sophisticated and incredibly satisfying. The combination of tart lemon juice, sweet sugar, and fragrant zest creates a beautifully balanced flavor profile. The optional vodka extract extract might sound unusual, but trust me, it works wonders by lowering the freezing point of the mixture, resulting in a smoother, less icy texture that’s absolutely divine. If you’re watching your sugar intake, substituting granulated erythritol is a fantastic option that offers a similar sweetness without the calories.
Making sorbet at home is an incredibly rewarding experience. It allows you to control the quality of your ingredients and customize the sweetness and tartness to your exact preferences. You’ll be amazed at how easily you can achieve a professional-quality dessert with minimal effort. So, let’s get started on creating your own batch of sunshine!
The Simple Alchemy of Sorbet Making
The process of making sorbet is more about patience and a little bit of technique than complex culinary skills. It all begin extracts with creating a perfectly balanced sugar syrup, which is the foundation of a good sorbet. This syrup not only adds sweetness but also plays a crucial role in the texture of the final product, preventing it from freezing into a solid block of ice.
Step 1: Crafting the Sweet, Citrusy Base
Our first crucial step is to create the flavorful base for our sorbet. In a medium saucepan, combine the 1 1/2 cups of water and 1 cup of granulated sugar (or granulated erythritol if you’re using it). Place the saucepan over medium heat. Stir the mixture constantly, ensuring that the sugar dissolves completely into the water. You’ll know it’s ready when you can no longer see any sugar granules at the bottom of the pan. This usually takes about 5-7 minutes. It’s important not to boil the mixture vigorously; a gentle simmer is sufficient. Once the sugar is fully dissolved, remove the saucepan from the heat.
Step 2: Infusing with Zesty Goodness
Now it’s time to infuse our syrup with that incredible lemon aroma and flavor. Add the 1 tablespoon of finely grated lemon zest to the warm sugar syrup. The heat from the syrup will help to release the essential oils from the zest, intensifying the lemon flavor without adding any extra bitterness. Stir the zest into the syrup gently.
Step 3: The Brightness of Lemon Juice and the Smoothness of Vodka Extract
Next, we’ll introduce the star ingredient: the lemon juice. Carefully pour in the 1 cup of freshly squeezed lemon juice. Stir this into the syrup mixture until everything is well combined. If you are using the optional 1 tablespoon of vodka extract extract, now is the time to add it. Give it a good stir. The vodka extract acts as a secret weapon, interfering with the formation of large ice crystals, which leads to a wonderfully smooth and scoopable sorbet. Don’t worry about the taste of the vodka extract; it will completely evaporate during the freezing process, leaving behind only improved texture.
Step 4: Chilling the Flavorful Foundation
This is a vital step for achieving the best texture. We need to cool our sorbet base thoroughly before churning it. Pour the mixture into a clean bowl or container. Cover it tightly with plastic wrap, making sure the wrap touches the surface of the liquid to prevent a skin from forming. Place the bowl in the refrigerator and let it chill for at least 2-4 hours, or ideally, overnight. The colder the base is, the faster it will churn and the smoother your sorbet will be. Rushing this chilling step can result in a coarser, icier sorbet.
Step 5: Churning to Perfection
Once your sorbet base is thoroughly chilled, it’s time to churn it. If you have an ice cream maker, follow the manufacturer’s instructions for churning sorbet. Typically, this involves pouring the chilled base into the frozen bowl of your ice cream maker and letting it churn for about 20-30 minutes, or until it reaches a soft-serve consistency. If you don’t have an ice cream maker, don’t despair! You can still make delicious sorbet. Pour the chilled base into a shallow, freezer-safe container. Place it in the freezer. Every 30-45 minutes, remove the container and vigorously stir the mixture with a fork or whisk, breaking up any ice crystals that have started to form. Continue this process for 3-4 hours, or until the sorbet is firm enough to scoop. This manual churning process mimics the action of an ice cream maker, helping to create those lovely small ice crystals that give sorbet its characteristic texture.
Step 6: The Final Freeze for Firmness
After churning (either in an ice cream maker or by hand), your sorbet will likely be quite soft. Transfer the sorbet to a freezer-safe container. Press a piece of parchment paper or plastic wrap directly onto the surface of the sorbet to prevent ice crystals from forming on top. Cover the container tightly with a lid. Place the sorbet in the freezer for at least another 2-4 hours, or until it is firm enough to scoop. This final freezing period allows the sorbet to harden to the perfect consistency for serving.
Enjoy your homemade Lemon Sorbet! It’s a wonderfully refreshing and zesty treat that’s perfect on its own or as a palate cleanser between courses.
Conclusion:
And there you have it – a simple, yet utterly delightful, lemon sorbet recipe that promises pure refreshment! This recipe truly shines because of its bright, zesty flavor and incredibly smooth texture, achievable with just a few basic ingredients. It’s the perfect palate cleanser, a light dessert on a warm day, or a fantastic accompaniment to richer dishes. I truly encourage you to give this easy lemon sorbet a try; you’ll be amazed at how satisfying homemade sorbet can be!
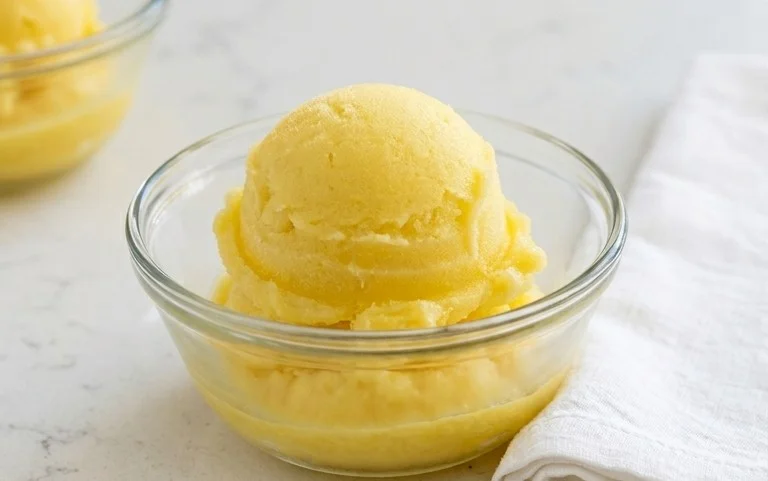
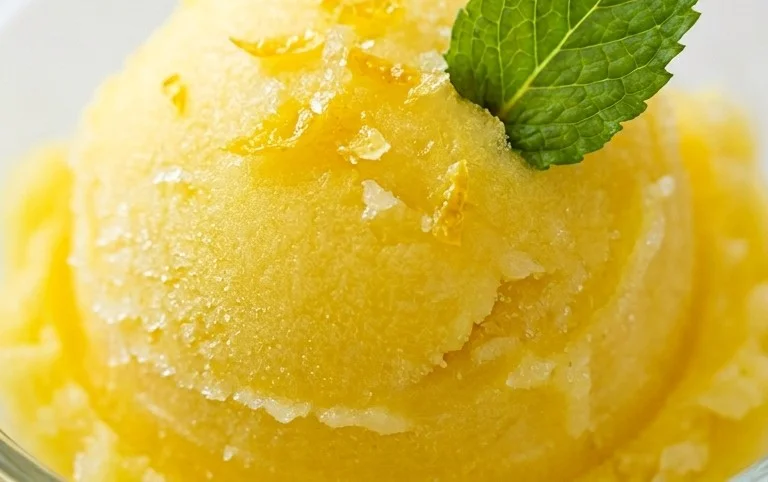
For serving, I love to present it in chilled glasses, perhaps garnished with a thin lemon wheel or a sprig of fresh mint. It’s also wonderful scooped alongside a slice of pound cake or even as a counterpoint to a spicy meal. Feeling adventurous? You can easily create variations! Try adding a splash of limoncello for an adult twist, or a handful of fresh berries like raspberries or strawberries to the blender for a beautiful fruity swirl. You could even infuse the simple syrup with gin extractger or basil for a unique aromatic profile. This lemon sorbet is a fantastic canvas for your creativity!
Frequently Asked Questions:
Can I make this lemon sorbet without an ice cream maker?
Absolutely! While an ice cream maker ensures the smoothest texture, you can achieve a delightful sorbet by freezing the mixture in a shallow pan and then scraping and churning it with a fork every 30-45 minutes until it reaches a fluffy consistency. It requires a little more patience but is totally doable!
How long will my homemade lemon sorbet last?
Properly stored in an airtight container in your freezer, this lemon sorbet should maintain its quality for about 1 to 2 weeks. After that, the texture might start to become a bit icier, though it will still be enjoyable.
Lemon Sorbet
A refreshing and tangy lemon sorbet, perfect for a hot day. Easy to make with simple ingredients.
Ingredients
-
1 cup lemon juice
-
1 1/2 cup water
-
1 cup sugar
-
1 tablespoon lemon zest
-
1 tablespoon non-alcoholic lemon extract
Instructions
-
Step 1
In a saucepan, combine sugar and water. Heat gently, stirring until the sugar is completely dissolved to create a simple syrup. -
Step 2
Remove the simple syrup from the heat and let it cool completely. -
Step 3
Once cooled, stir in the lemon juice and lemon zest. -
Step 4
Add the non-alcoholic lemon extract and mix well. -
Step 5
Pour the mixture into an ice cream maker and churn according to the manufacturer’s instructions until firm. -
Step 6
Transfer the sorbet to an airtight container and freeze for at least 2-3 hours before serving to allow it to firm up.
Important Information
Nutrition Facts (Per Serving)
It is important to consider this information as approximate and not to use it as definitive health advice.
Allergy Information
Please check ingredients for potential allergens and consult a health professional if in doubt.