Best Cheesy Garlic Bread Recipe – Easy & Delicious
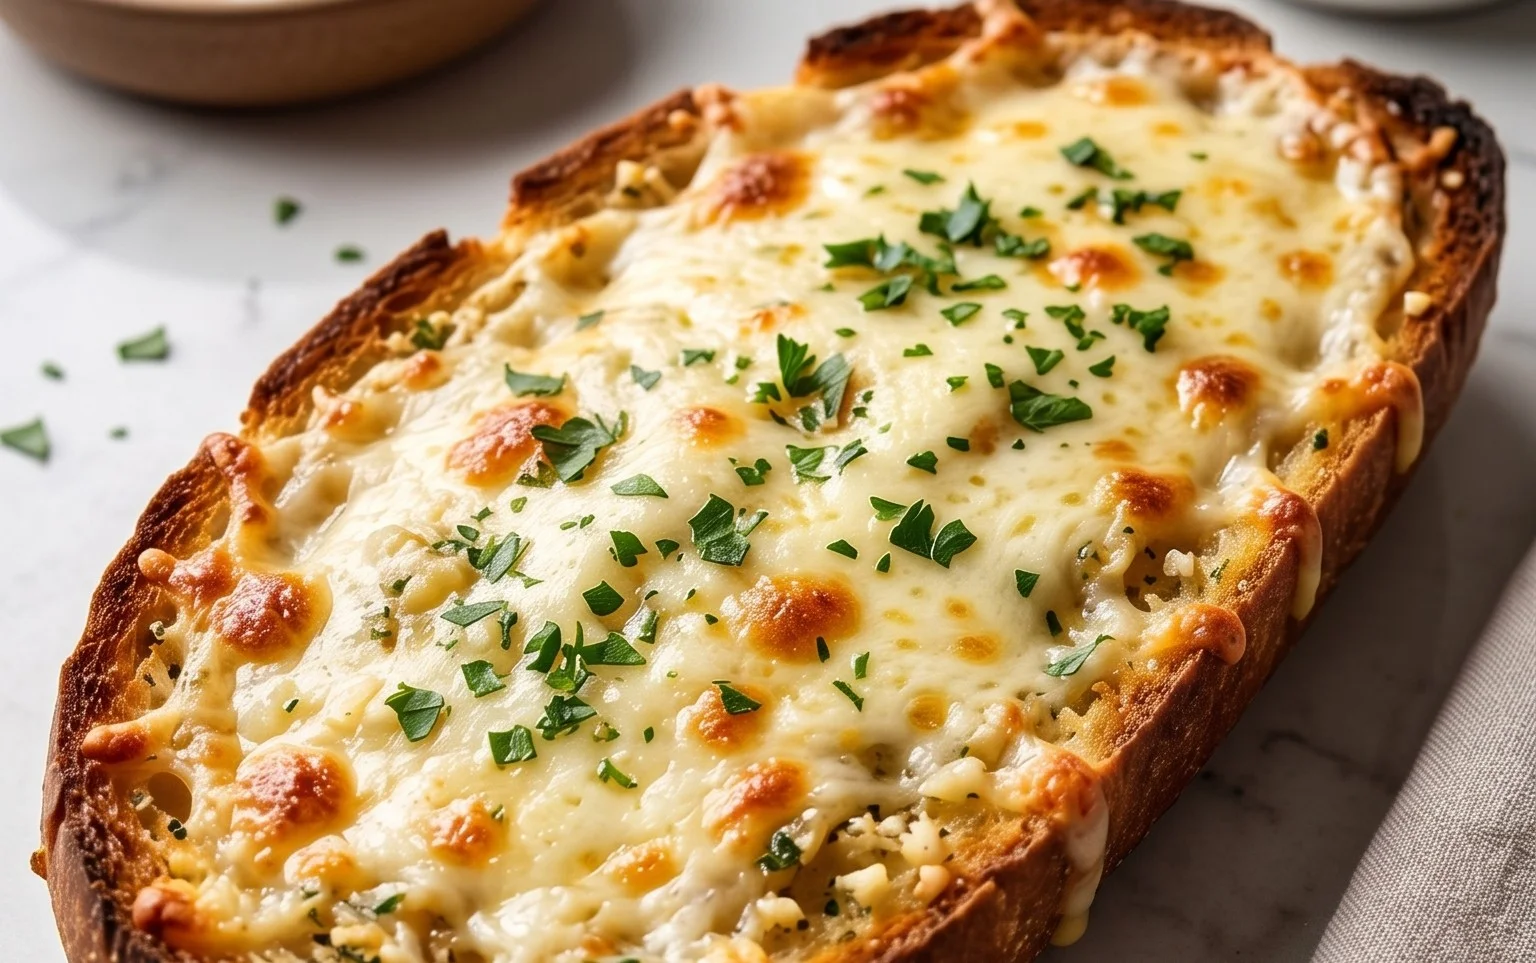
BEST CHEESY GARLIC BREAD RECIPE. Is there anything more comforting, more universally loved, than a warm slice of perfectly baked cheesy garlic bread? I think not! It’s the ultimate appetizer, the ideal sidekick to pasta, and let’s be honest, sometimes it’s the main event in my book. We all have our go-to, but what if I told you we could elevate this classic to a whole new level? This isn’t just any cheesy garlic bread; this is the BEST CHEESY GARLIC BREAD RECIPE you’ll ever make. It’s the kind of recipe that makes people ask for seconds (and thirds!), the one that fills your kitchen with an irresistible aroma, and the one that brings smiles to everyone’s faces. What makes it so special? It’s all about the perfect balance of buttery garlic goodness and a melty, gooey cheese topping that gets gloriously golden brown. Get ready to fall in love with garlic bread all over again!
Ingredients:
The Ultimate Cheesy Garlic Bread: Your New Go-To Recipe
Get ready to elevate your side dish game with what I can confidently call the BEST cheesy garlic bread recipe. This isn’t just any garlic bread; it’s a symphony of savory garlic, creamy butter, and stretchy, golden mozzarella, all piled high on irresistibly soft King’s Hawaiian rolls. Whether you’re serving it alongside pasta, soup, or just craving a delicious snack, this recipe is guaranteed to be a crowd-pleaser. The secret to its incredible flavor lies in using both raw and roasted garlic, creating layers of garlicky goodness that are simply divine. Let’s get started!
Step 1: Roasting the Garlic
The foundation of our amazing garlic flavor starts with roasted garlic. This mellows out the harshness of raw garlic and brings out a sweet, creamy texture. To do this, preheat your oven to 400°F (200°C). Take your 8-10 garlic cloves, leave them unpeeled, and place them in a small oven-safe dish or wrap them tightly in aluminum foil. Drizzle them with 2 tablespoons of olive oil and add a tiny pinch of salt. This helps them roast beautifully. Pop them into the preheated oven for about 30-40 minutes, or until the cloves are soft and fragrant. You’ll know they’re ready when you can easily squeeze a clove out of its skin. Once roasted, let them cool slightly until they’re comfortable to handle.
Step 2: Preparing the Garlic Butter Mixture
While your garlic is roasting, let’s get our garlic butter mixture ready. In a medium bowl, combine the melted butter with the roasted garlic you just prepared. Squeeze the soft, roasted garlic cloves out of their skins directly into the bowl. You’ll find they come out in a lovely paste. Add the ½ teaspoon of salt, ½ teaspoon of paprika (this adds a subtle warmth and color), and 2 tablespoons of finely chopped fresh parsley. Give it all a good whisk until everything is well combined and you have a fragrant, vibrant mixture. This is where the magic really starts to happen! The roasted garlic will create a smooth, spreadable consistency, and the fresh parsley adds a pop of color and freshness.
Step 3: Creating the Egg Wash and Assembling the Rolls
Now for the King’s Hawaiian rolls! For the best results, we want to keep them in their full sheet form. This makes them incredibly easy to handle and ensures even distribution of our delicious topping. In a separate small bowl, whisk together 1 egg and ¼ cup of milk. This egg wash will help the garlic butter mixture adhere beautifully to the rolls and give them a lovely golden sheen when baked. Gently pour this egg wash over the entire sheet of rolls, making sure to get into all the nooks and crannies between the rolls. Then, generously spread the prepared garlic butter mixture all over the tops of the rolls. Don’t be shy with it – the more, the merrier!
Step 4: Adding the Cheesy Goodness
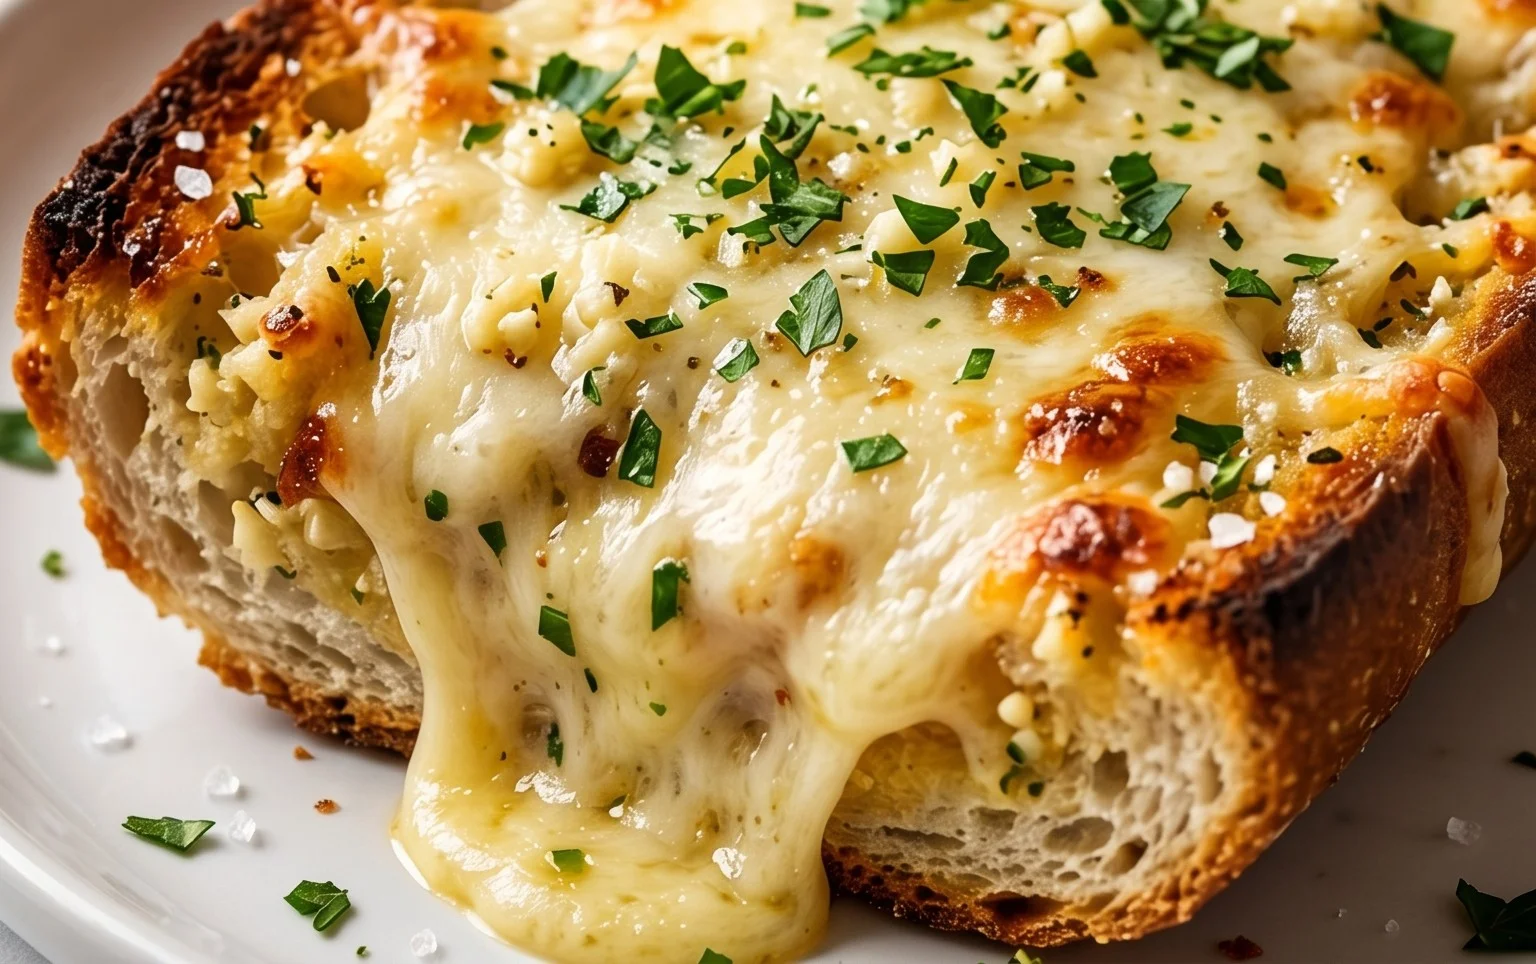
This is the part we’ve all been waiting for: the cheese! Evenly sprinkle the 2 cups of shredded mozzarella cheese all over the garlic butter-coated rolls. Ensure you get a good, even layer, as this will melt into a glorious, gooey blanket of cheese. You want those strings of cheese when you pull a piece apart, and a generous amount will guarantee that. If you like an extra cheesy experience, feel free to add a little more! The mozzarella will melt and bubble, creating a truly irresistible crust.
Step 5: Baking to Golden Perfection
Place the assembled sheet of rolls onto a baking sheet (if they aren’t already on one). Bake in your preheated oven at 400°F (200°C) for approximately 12-15 minutes. Keep a close eye on them! You’re looking for the cheese to be completely melted and bubbly, with some beautiful golden-brown spots. The edges of the rolls should also be toasted to perfection. The aroma that will fill your kitchen during this time is absolutely divine.
Step 6: The Grand Finnon-alcoholic ale and Serving
Once your cheesy garlic bread is beautifully golden and bubbly, carefully remove it from the oven. Let it rest for just a minute or two – this helps the cheese set slightly and makes it easier to slice. Now, for the final flourish: sprinkle generously with chopped fresh parsley and chili flakes, if you like a little heat. The vibrant green of the parsley and the pop of red from the chili flakes not only make it look stunning but also add an extra layer of flavor. Slice the sheet of rolls into individual portions using a sharp knife or even kitchen shears. Serve immediately and watch everyone devour this incredible cheesy garlic bread. It’s truly the best! Enjoy every warm, gooey, garlicky bite.
Conclusion:
There you have it – the recipe for what I truly believe is the BEST CHEESY GARLIC BREAD you’ll ever make! This recipe isn’t just about a side dish; it’s about creating pure comfort and deliciousness that elevates any meal. The perfect balance of rich, melty cheese, fragrant garlic, and soft, toasted bread is simply irresistible. It’s incredibly easy to whip up, making it an ideal choice for busy weeknights or when you want to impress guests with minimal effort. The golden-brown crust, the gooey cheese pull, and that non-intoxicating garlic aroma are what make this recipe a winner time and time again.
Serve this cheesy garlic bread alongside your favorite pasta dishes, hearty soups, crisp salads, or as a standalone appetizer. It’s versatile enough to complement almost anything! If you’re feeling adventurous, consider adding a pinch of red pepper flakes for a little heat, or try different cheese combinations like Monterey Jack and cheddar for an extra gooey texture. I highly encourage you to give this recipe a try; I promise you won’t be disappointed. It’s a guaranteed crowd-pleaser!
Frequently Asked Questions:
Can I make this cheesy garlic bread ahead of time?
You can prepare the garlic butter mixture and spread it on the bread a few hours in advance. Store it covered in the refrigerator. When you’re ready to bake, simply remove it from the fridge and bake as directed, possibly adding a few extra minutes to ensure it’s heated through.
What kind of bread is best for this recipe?
While a good quality French baguette or Italian loaf works wonderfully, you can also use sourdough, ciabatta, or even thick-sliced white bread. The key is to use a bread that can hold up to the butter and cheese without becoming too soggy.
How do I prevent the garlic from burning?
To avoid burnt garlic, it’s best to mince your garlic finely and mix it thoroughly with softened butter. Baking at the recommended temperature and keeping an eye on the bread during the last few minutes of baking will also help prevent burning. If you’re worried, you can even toast the bread slightly before adding the garlic butter mixture.
BEST CHEESY GARLIC BREAD RECIPE
The ultimate cheesy garlic bread recipe for a crowd, using King’s Hawaiian rolls for ultimate softness and flavor.
Ingredients
-
8-10 garlic cloves
-
2 tbsp olive oil
-
Pinch of salt
-
Roasted garlic from above
-
½ cup butter, melted
-
1 egg
-
¼ cup milk
-
½ tsp salt
-
½ tsp paprika
-
2 tbsp chopped fresh parsley
-
12 King’s Hawaiian Origin extractal Hawaiian Sheet Rolls, kept in the full sheet form
-
2 cups shredded mozzarella cheese
-
Chopped parsley for serving
-
Chili flakes for serving
Instructions
-
Step 1
Preheat oven to 375°F (190°C). -
Step 2
In a small bowl, combine the melted butter, egg, milk, ½ tsp salt, paprika, and 2 tbsp chopped fresh parsley. Whisk until well combined. -
Step 3
Place the King’s Hawaiian rolls on a baking sheet, keeping them in the full sheet form. If using a baguette, slice it horizontally. -
Step 4
Brush the butter mixture evenly over the top of the rolls, ensuring it seeps into the crevices. -
Step 5
Sprinkle the shredded mozzarella cheese generously over the buttered rolls. -
Step 6
Bake for 12-15 minutes, or until the cheese is melted and bubbly and the edges are golden brown. -
Step 7
Remove from oven and sprinkle with additional chopped parsley and chili flakes, if desired. Slice and serve immediately.
Important Information
Nutrition Facts (Per Serving)
It is important to consider this information as approximate and not to use it as definitive health advice.
Allergy Information
Please check ingredients for potential allergens and consult a health professional if in doubt.